


Steps in making a costume jewel
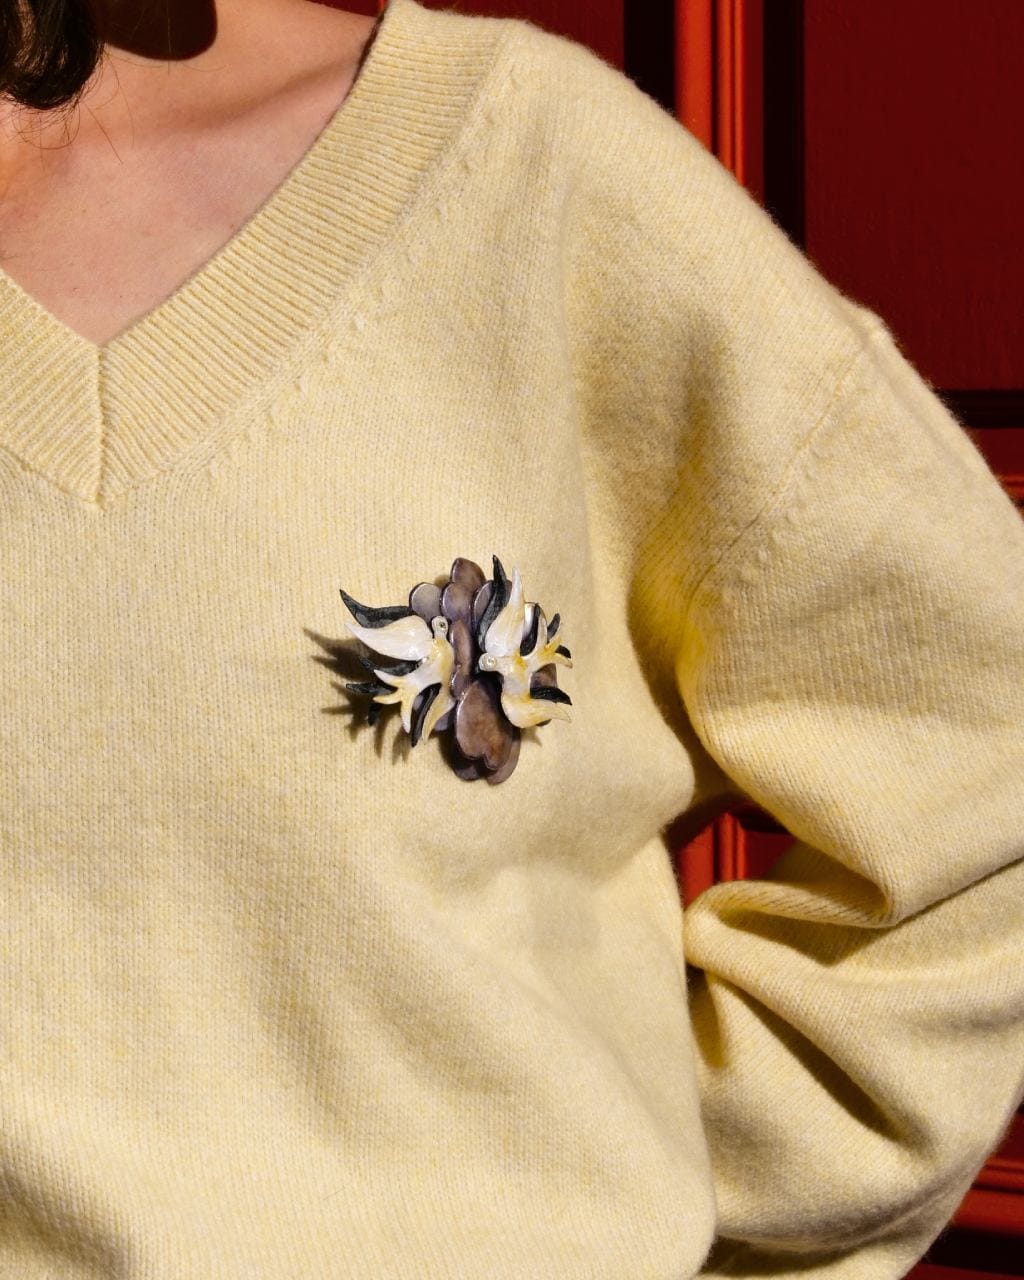
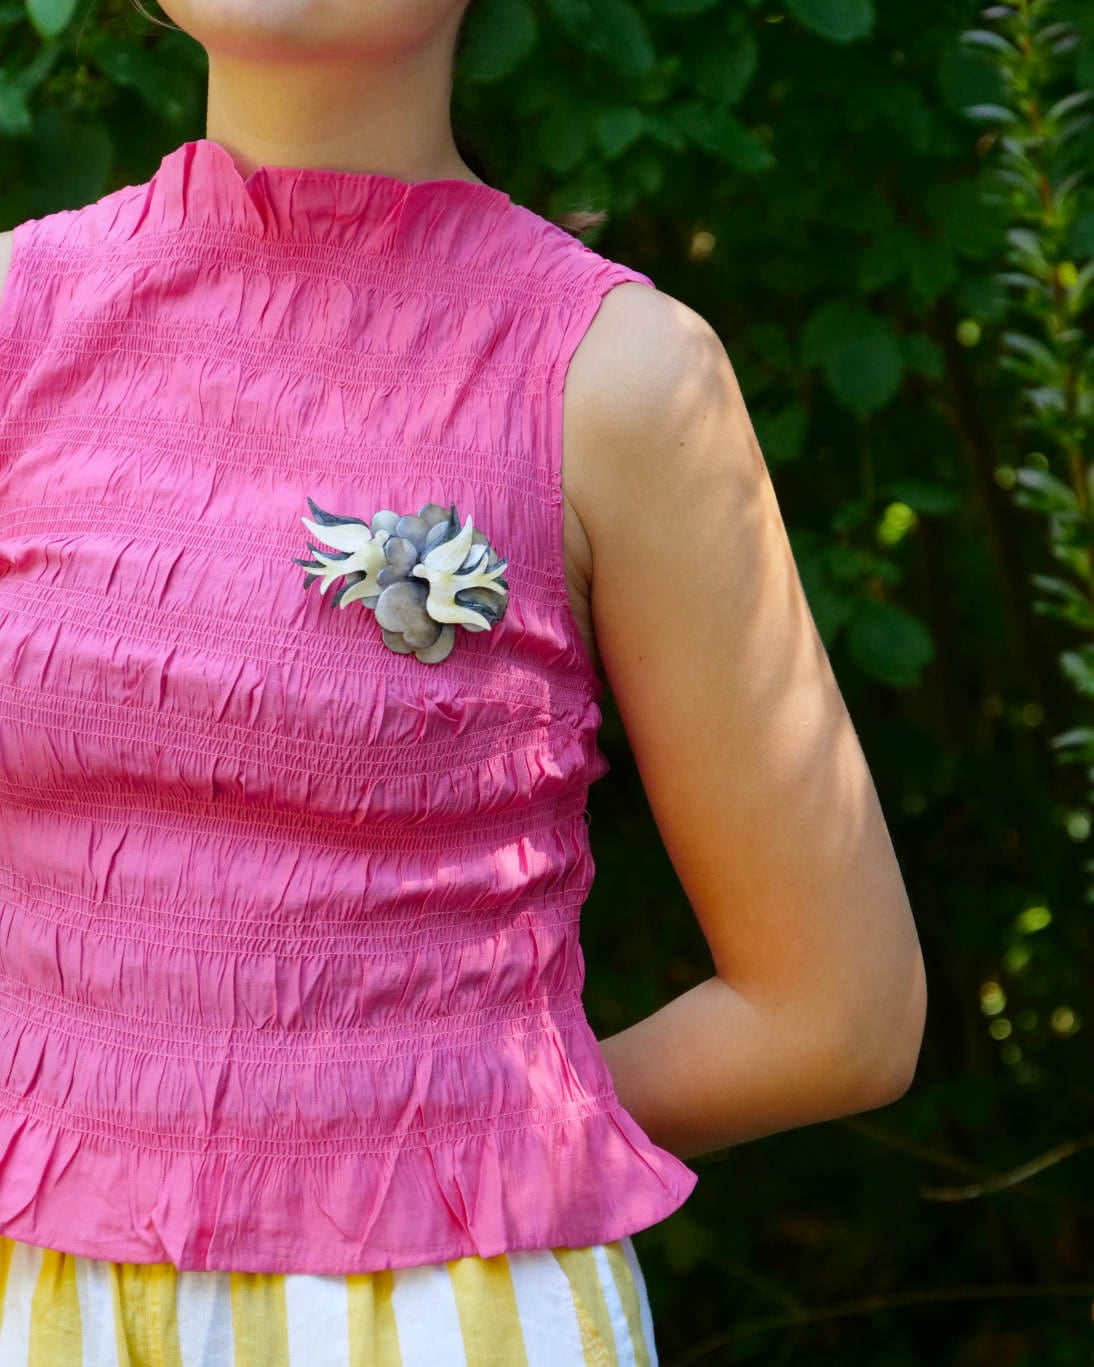
Welcome to Atelier Ciléa, where magic happens. You are invited to glimpse a rare know-how, where every detail is thought out, every gesture is precious, each piece comes to life under the expert hands of our craftsmen. A know-how that makes each piece of jewelry a unique work, a story to wear. Come in and discover the behind the scenes of the creation of your future costume jewelry.

1. No limits to originality
The first step of creation is a multitude of sketches, drafts, and random shapes. With a swipe of the pencil, the lines gradually take the shape of a jewel. The most difficult part is then to refine these shapes to make a jewel appear distinctly: the transition from imagination to reality.

2. THE PROTOTYPE
We try, we make, we unmake and then we remake. We assemble and reassemble the elements, we look for materials and colors that go well together. The process gradually refines itself until the magic happens. After a day, a week, or a month of research, the imagined jewel is born from the artisan's hands.
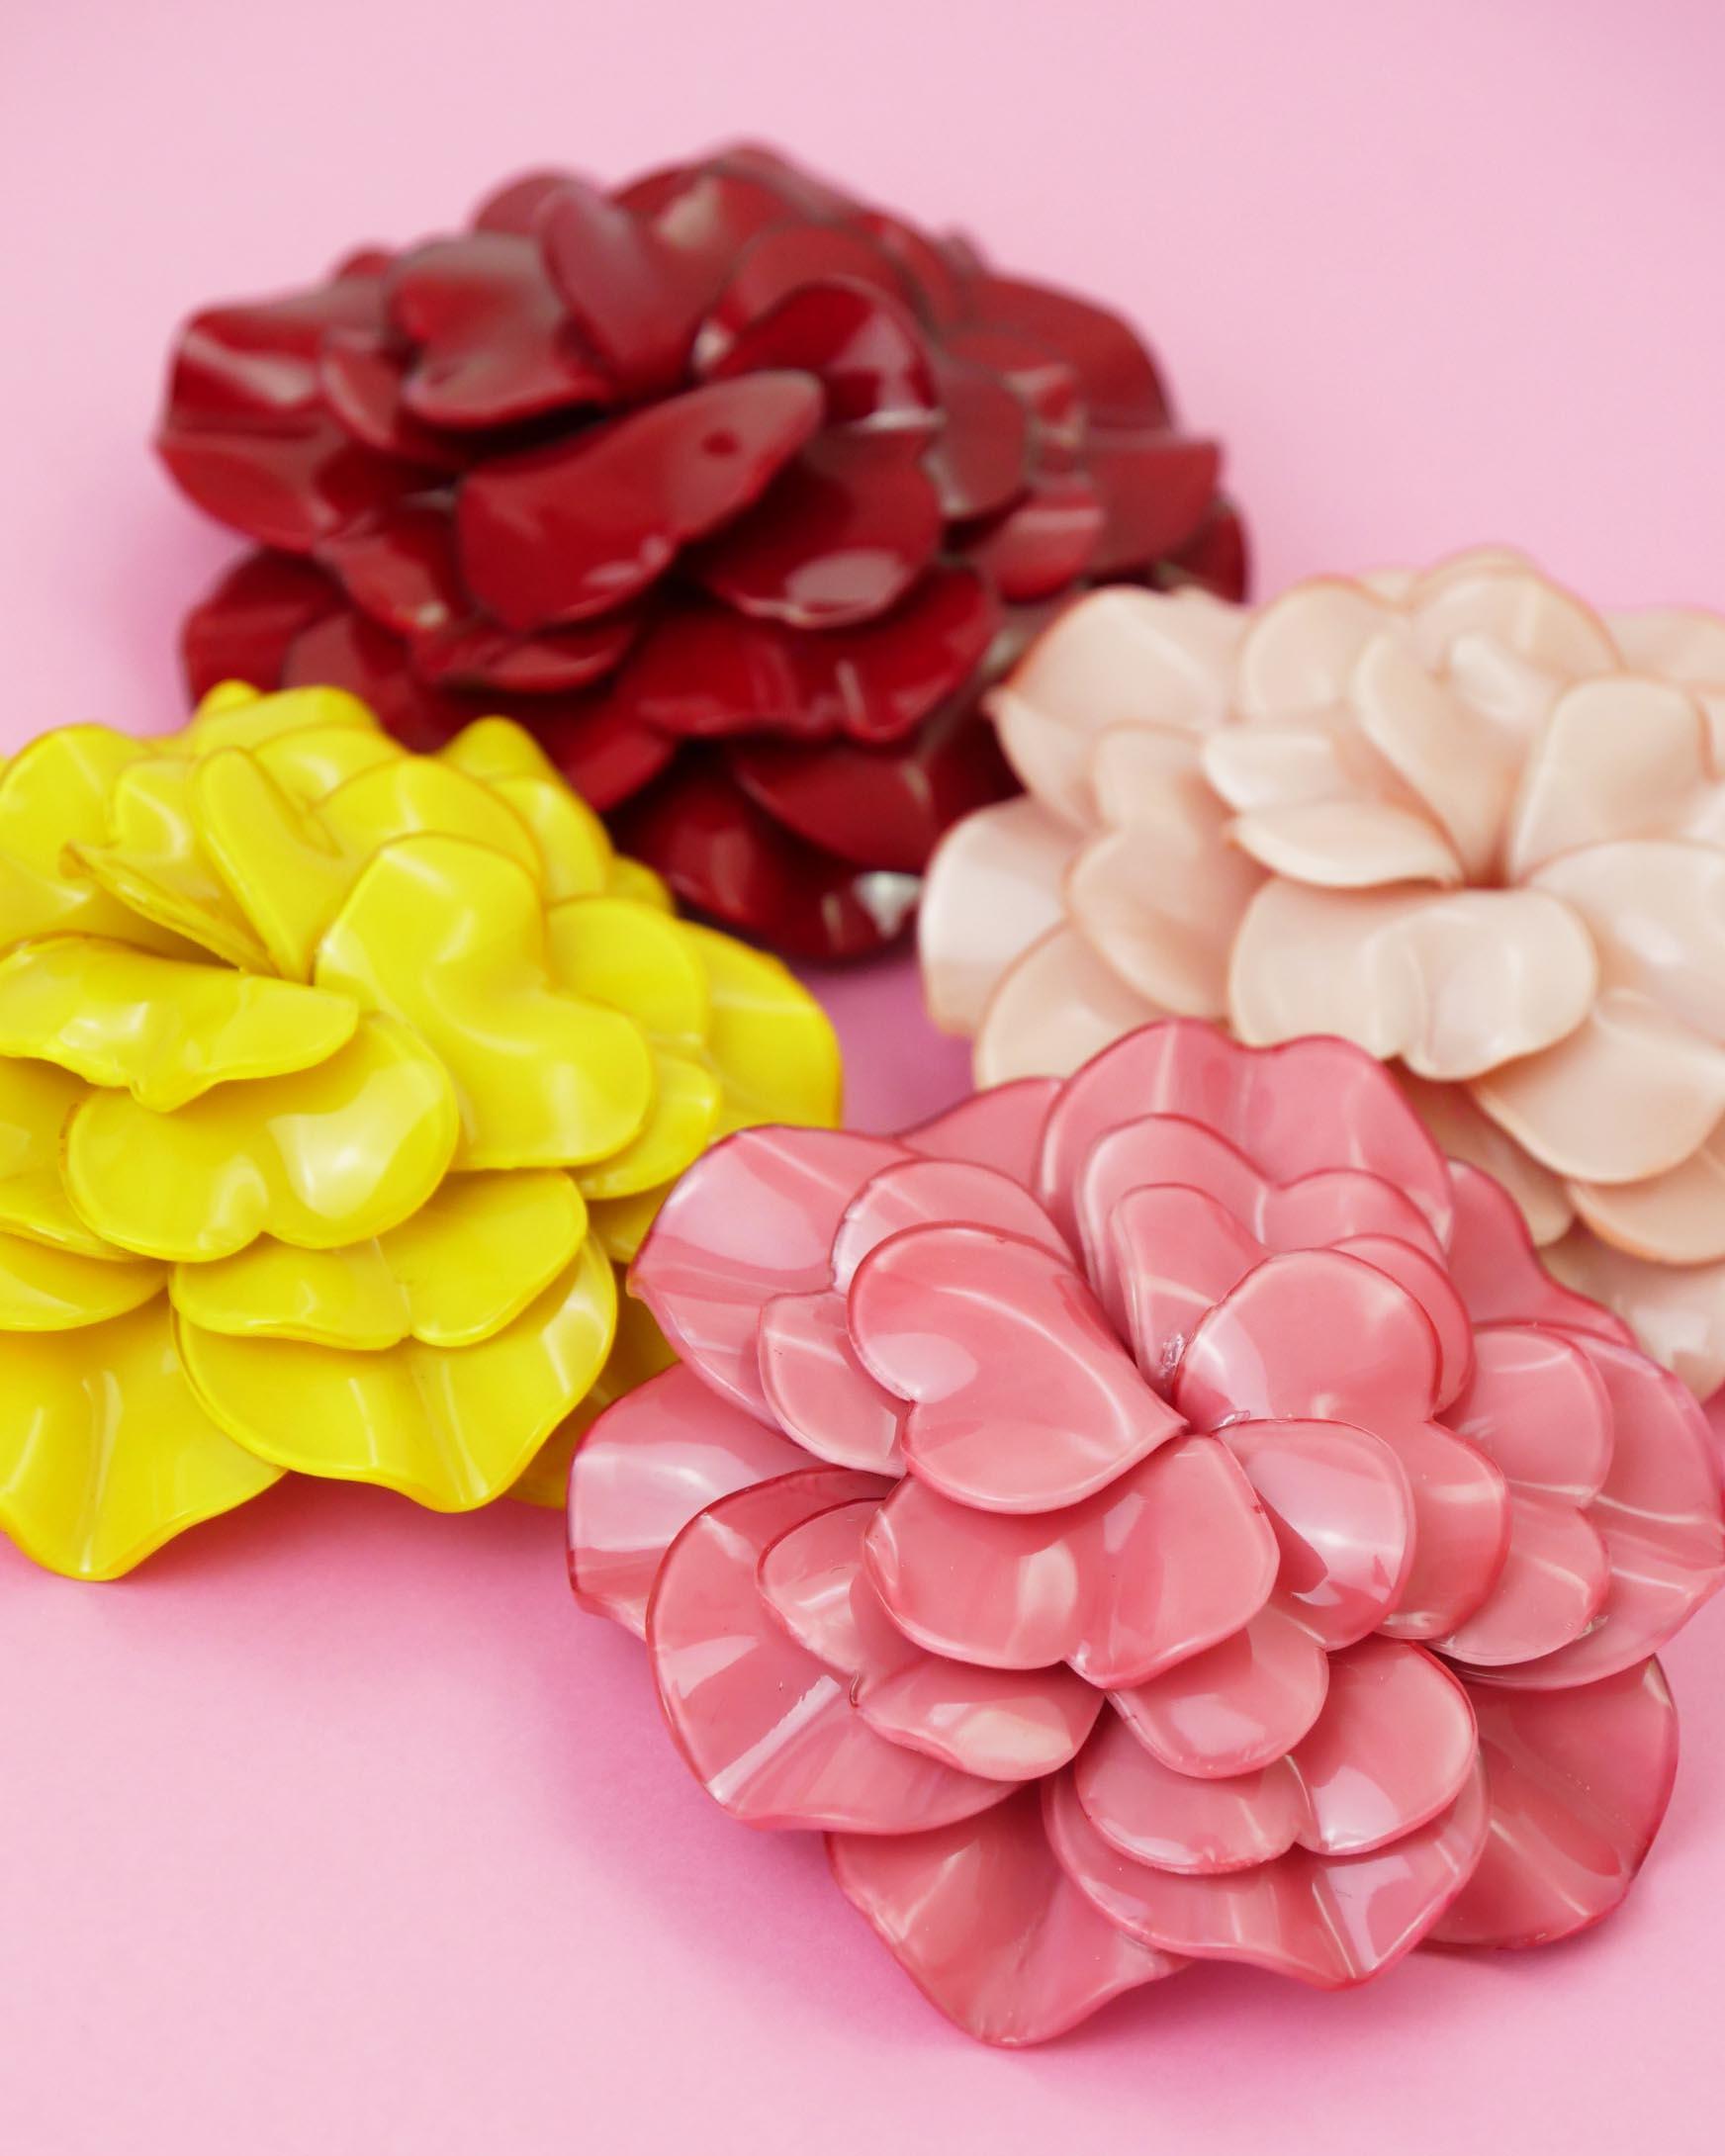
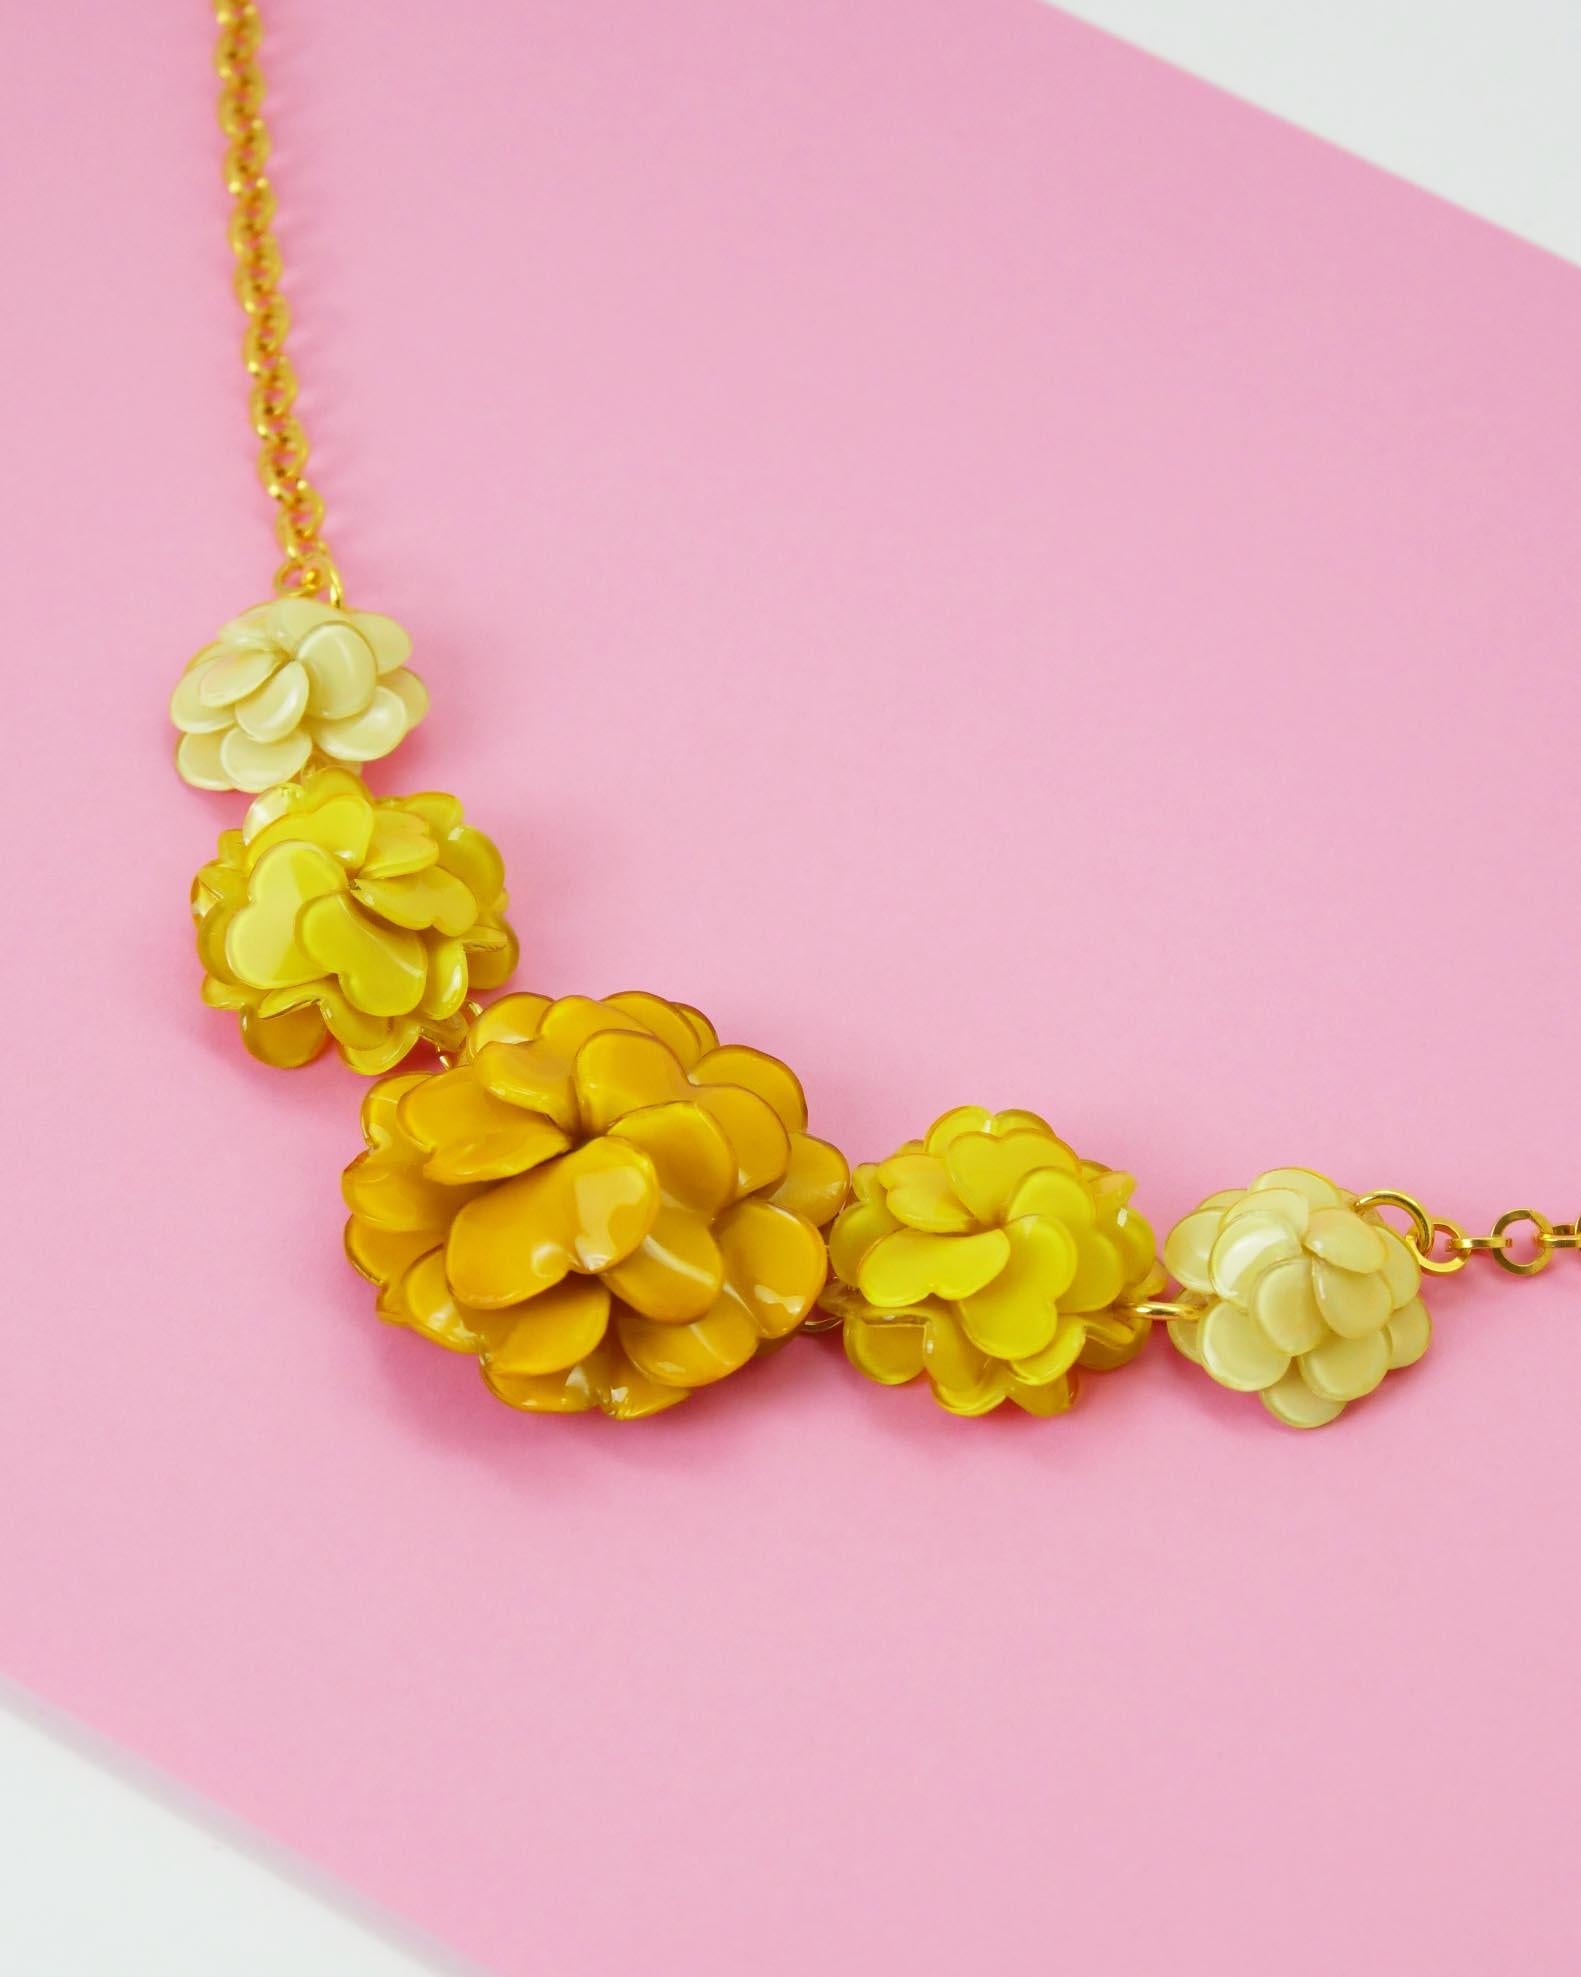
A few more adjustments and then that's it; the prototype is validated. Then comes the time to compose the collection that will arrive at your home a few months later. For this, the jewel is made in several carefully chosen colors.

3. Unique materials
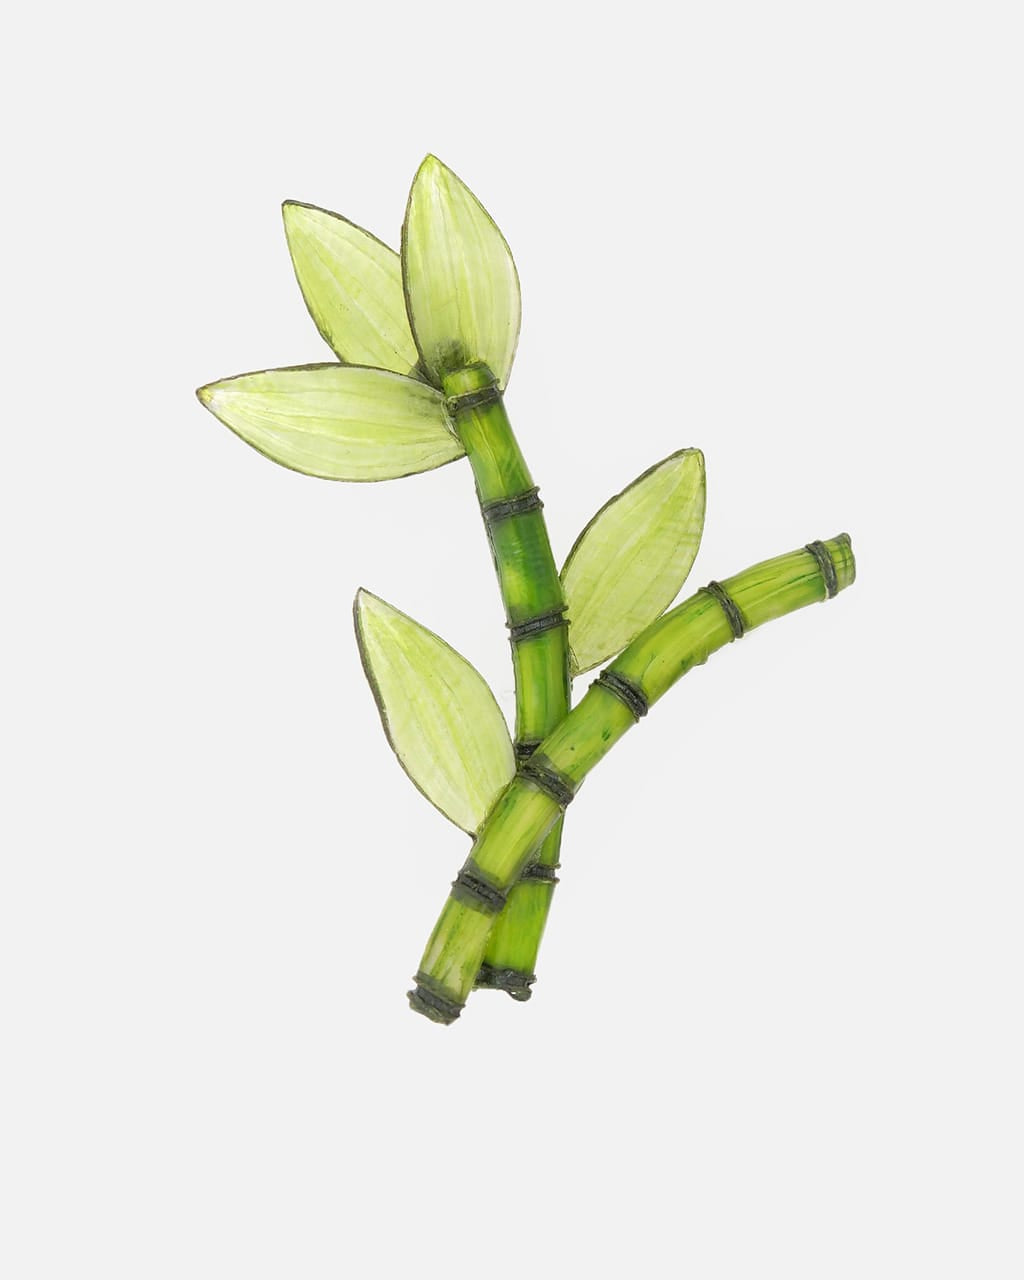
Manufacturing involves several steps, all equally necessary for shaping your jewel. For each jewel, everything begins with cutting the shapes and materials that compose it. Over time, we have developed unique materials, called Émaline, Domino, Saint-Paul, Tutu, Mira and Kyoto resins.
Each of these resins are created in our workshop from raw resins, enameled in our workshop. This enameling is a technique inherited from the know-how of the famous jeweler Line Vautrin. We have developed and transformed it so that it becomes this very special material that is Émaline.

4. Cutting
We cut out the elements that make up your jewelry one by one. Some are cut by hand while others are hot molded. Cutting is the longest step in the manufacturing process. It does not require any particular experience to be perfectly mastered. However, it does require patience and attention to detail.

5. Formatting
We deform certain elements using a molding technique that we inherited from Monique Védie. These molds are pressed vigorously to allow perfect and precise shaping. It is this step that gives life to the Ciléa jewel.

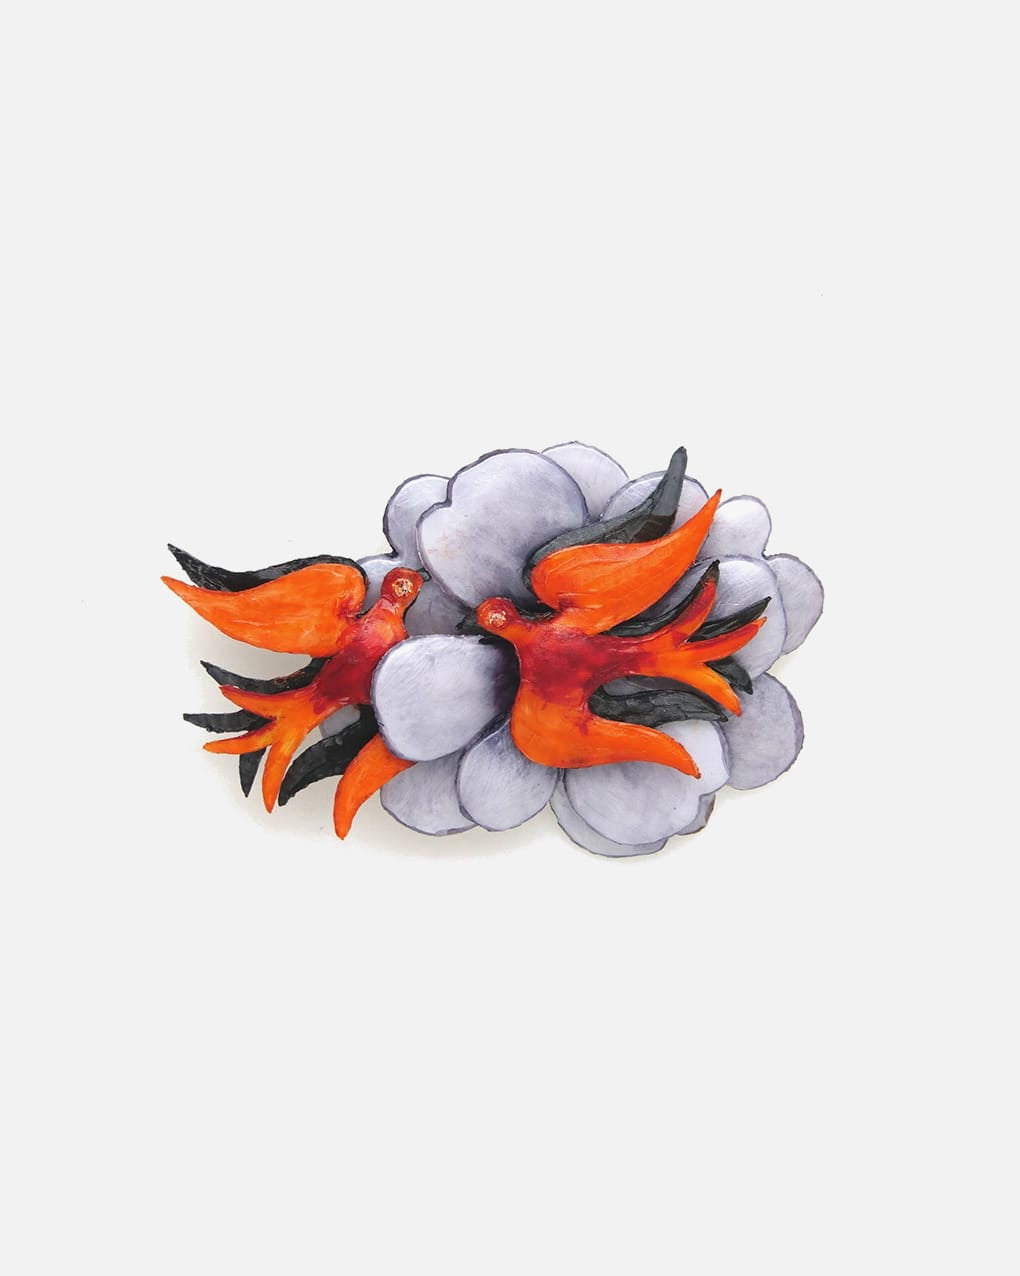
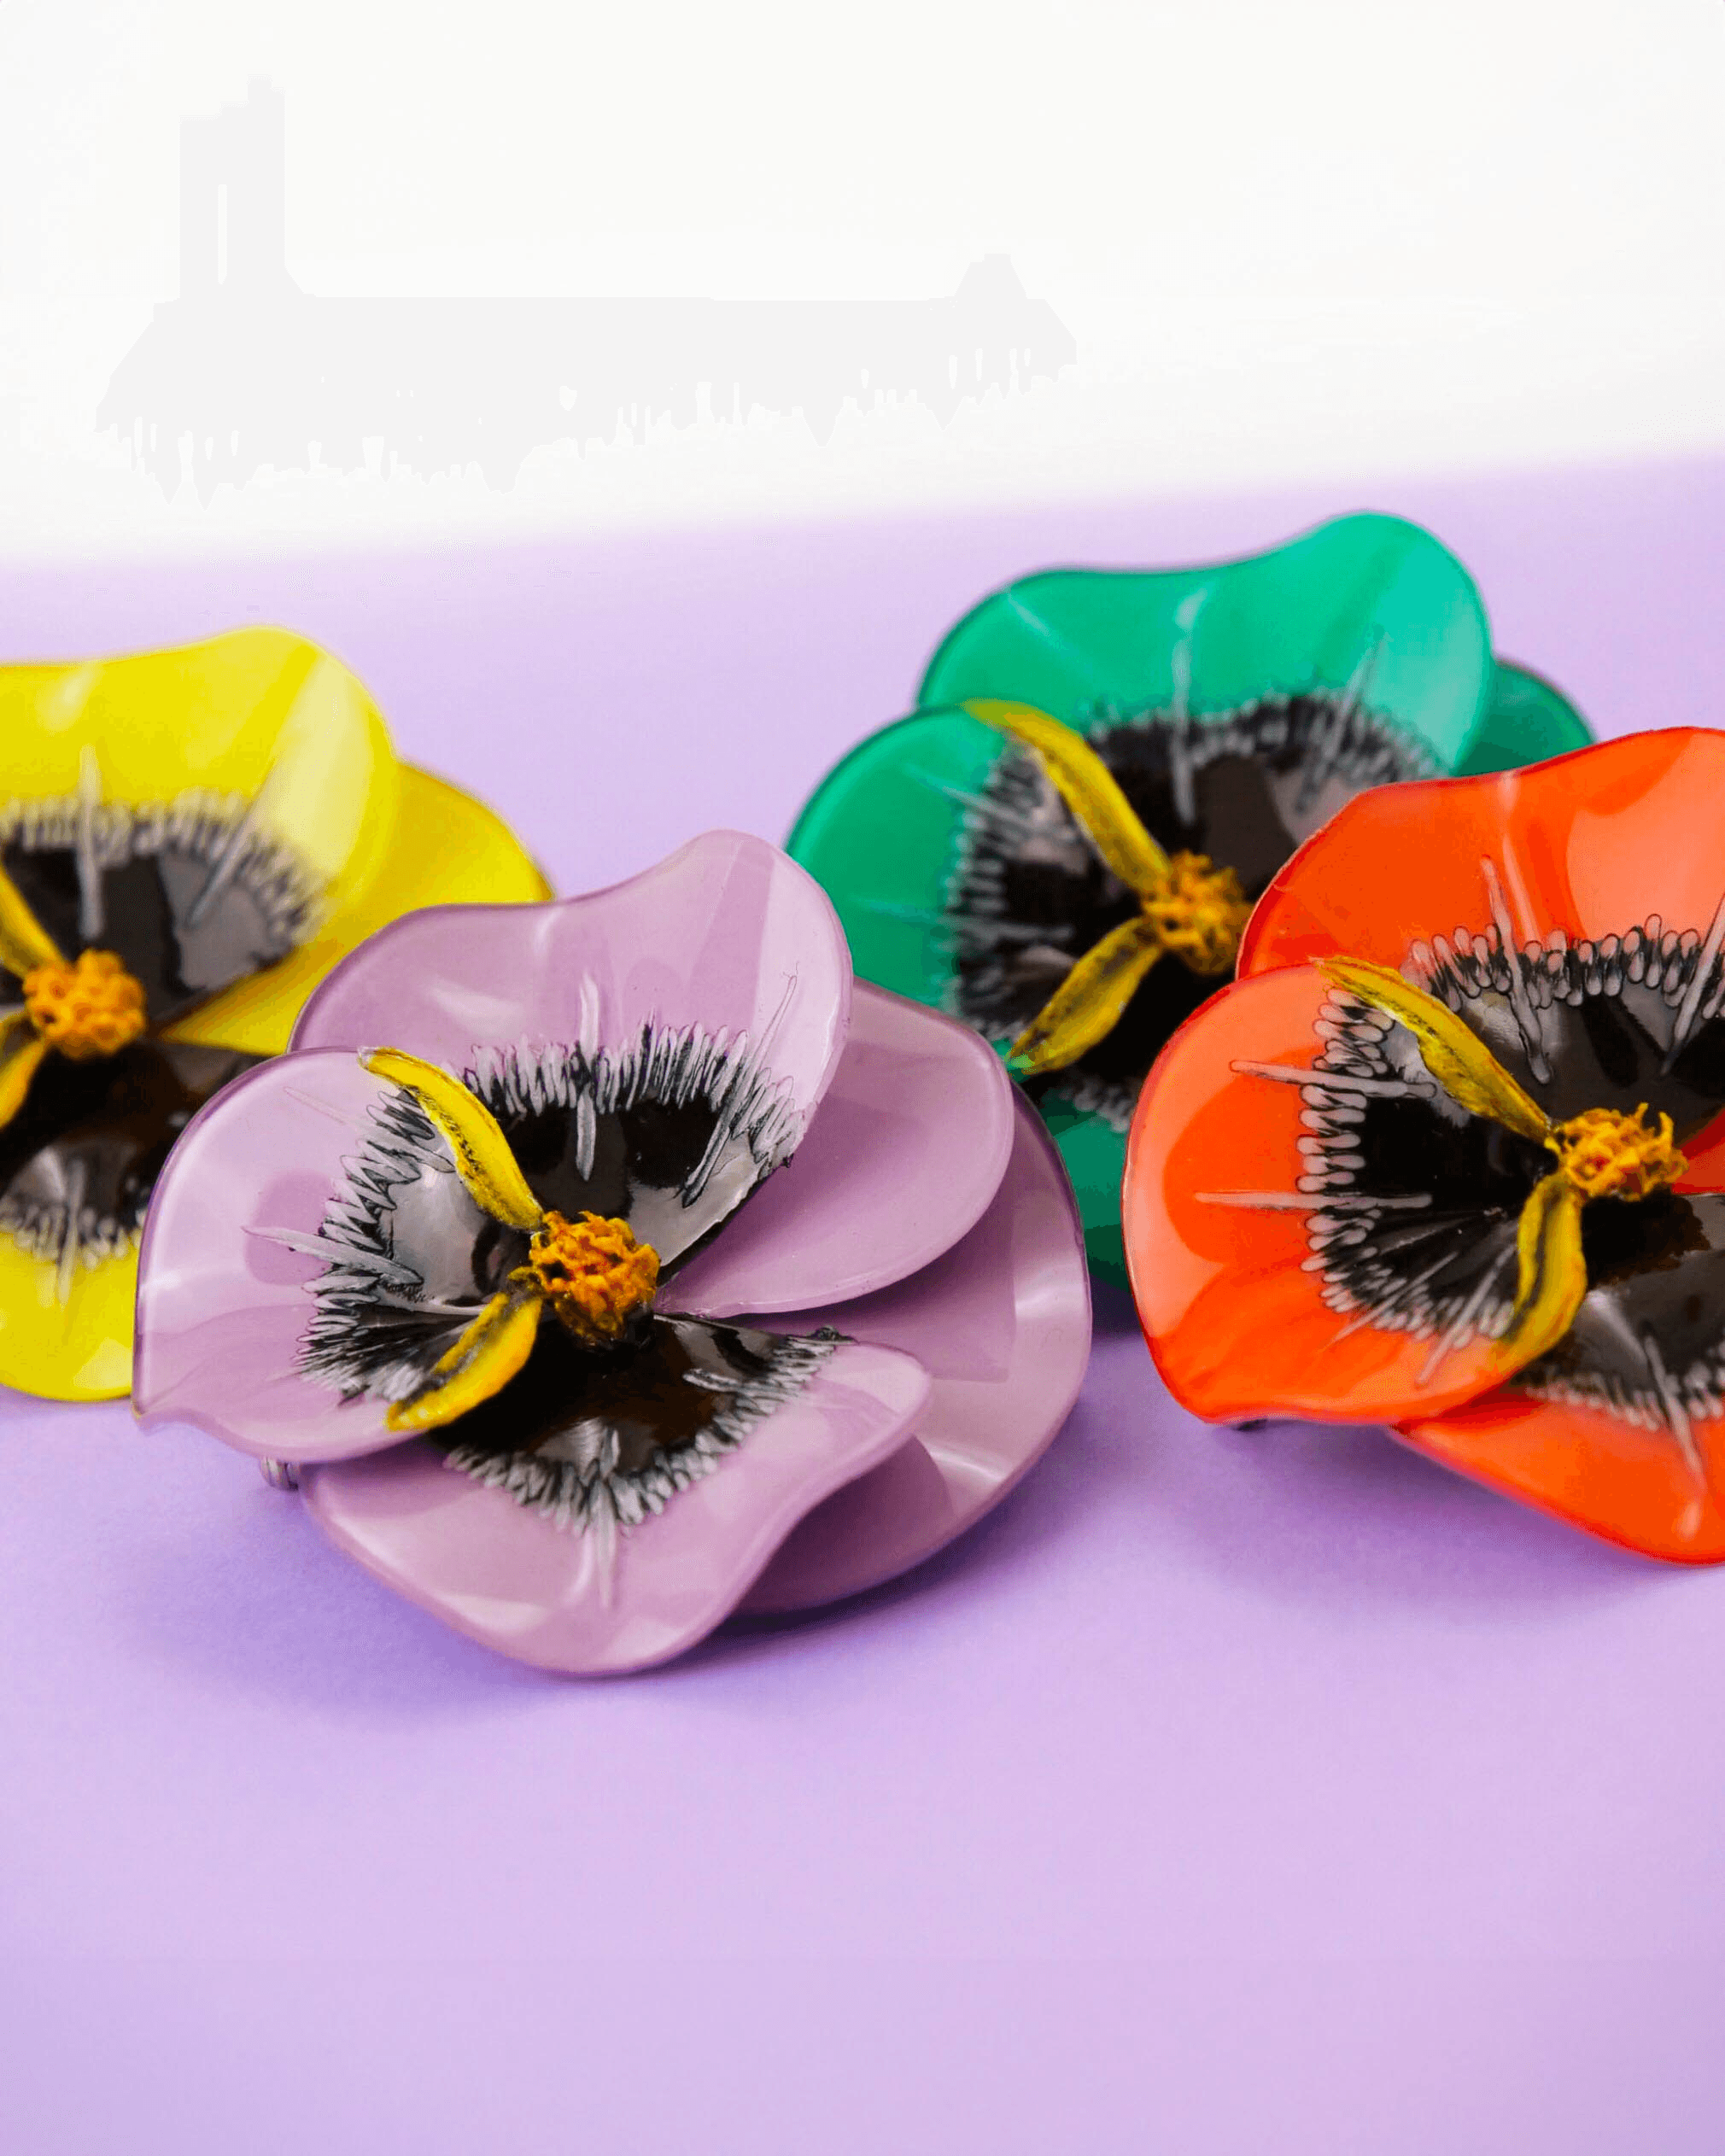
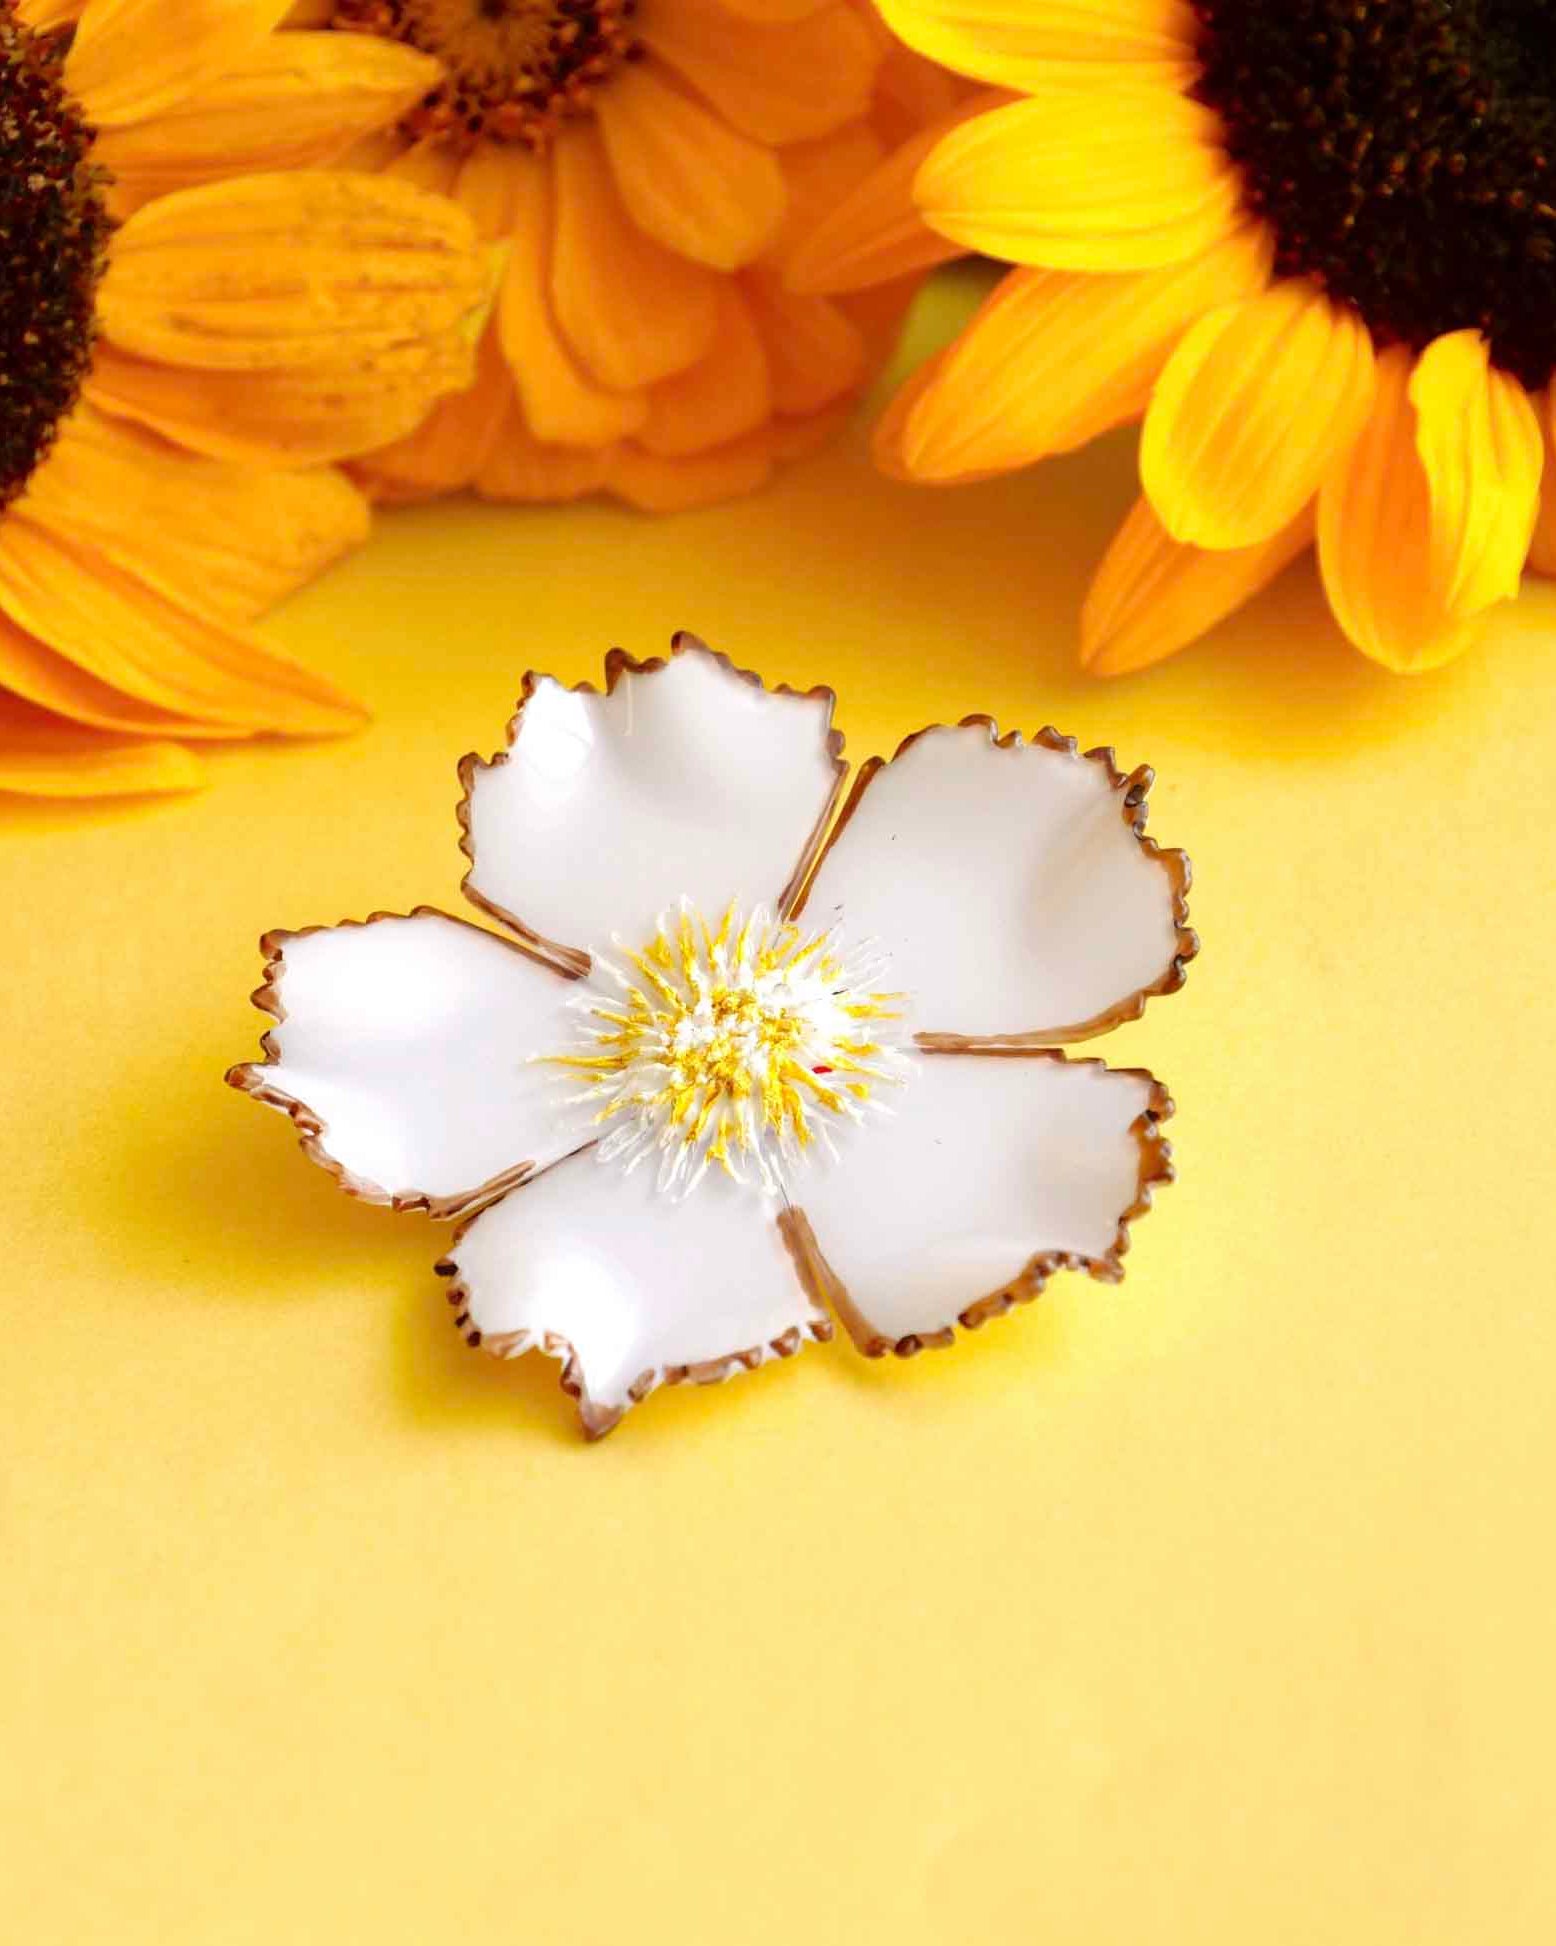
6. PAINTING
Next, we delicately apply the paint created in our workshop. This step is very meticulous and requires years of training. For example, it is very difficult to fill all the stamens of our emblematic Anemone. The first attempts generally result in overflowing stamens or smudges left by imprecise movements. It is this precision of movement that allowed us to obtain the valuable label in 2019.

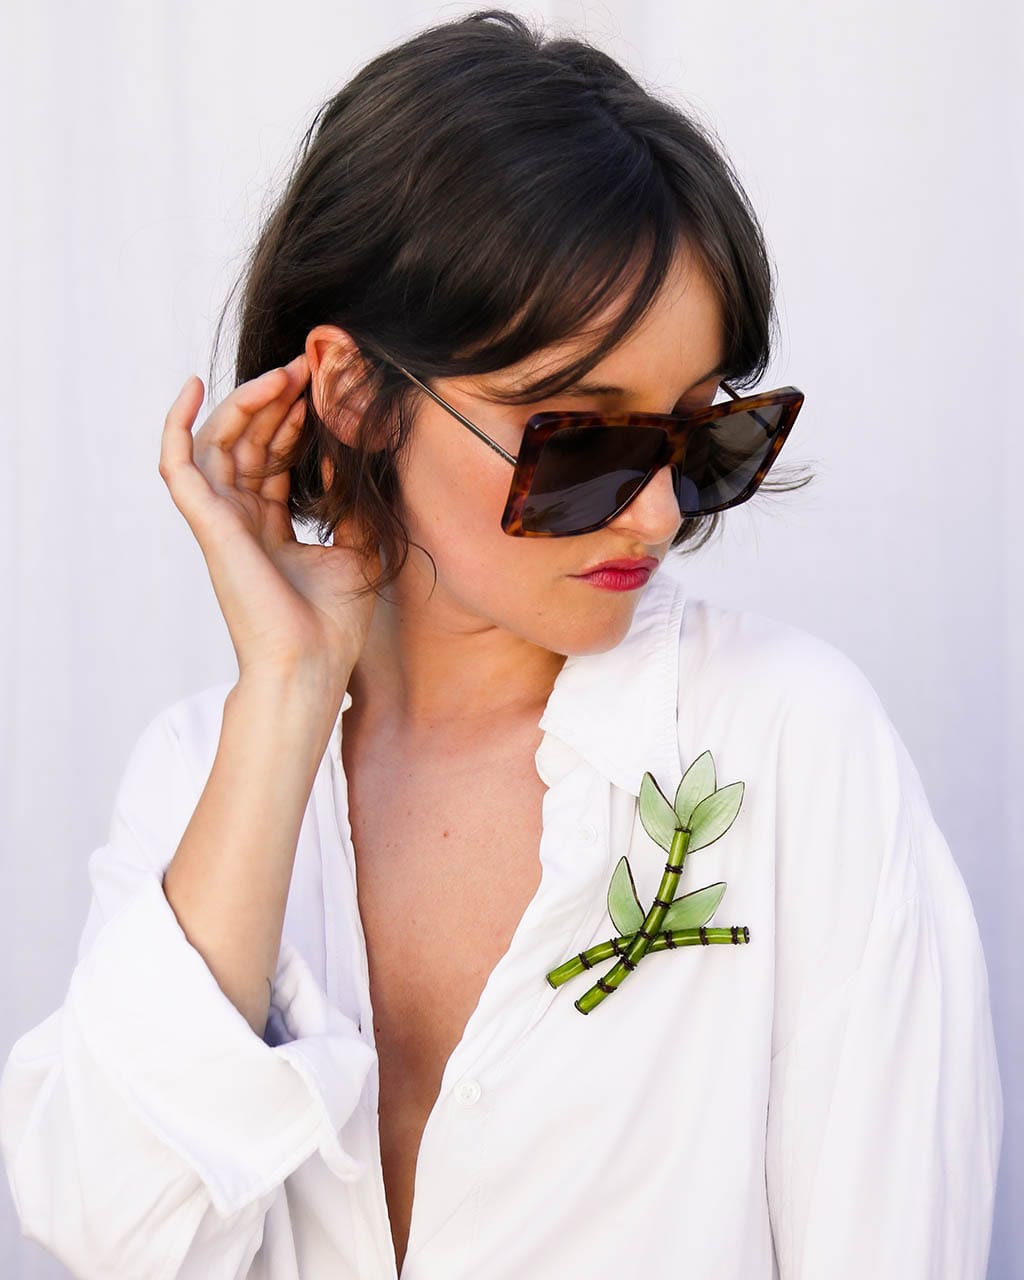
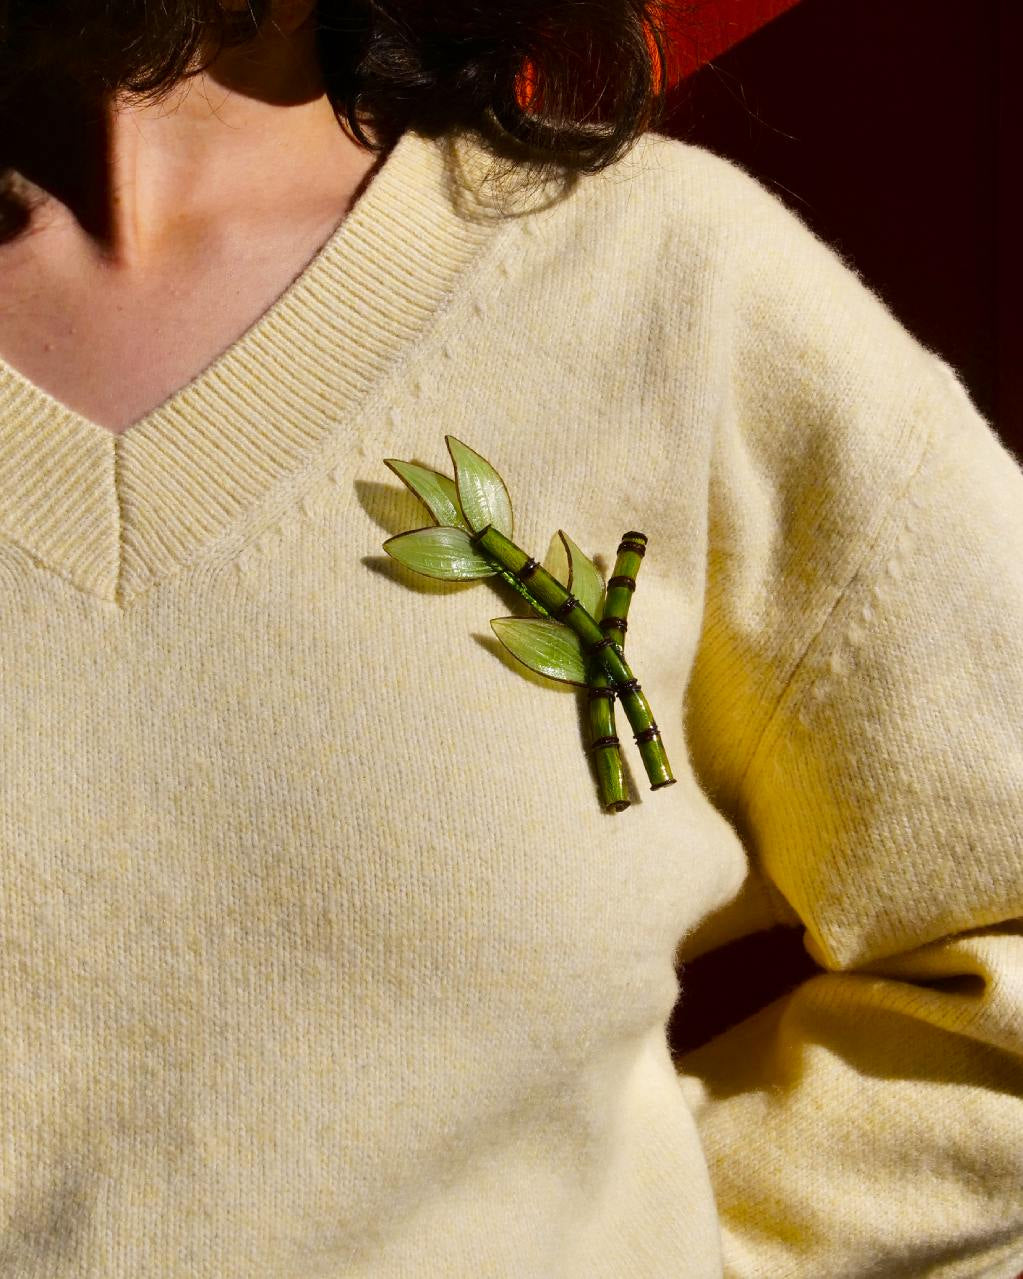
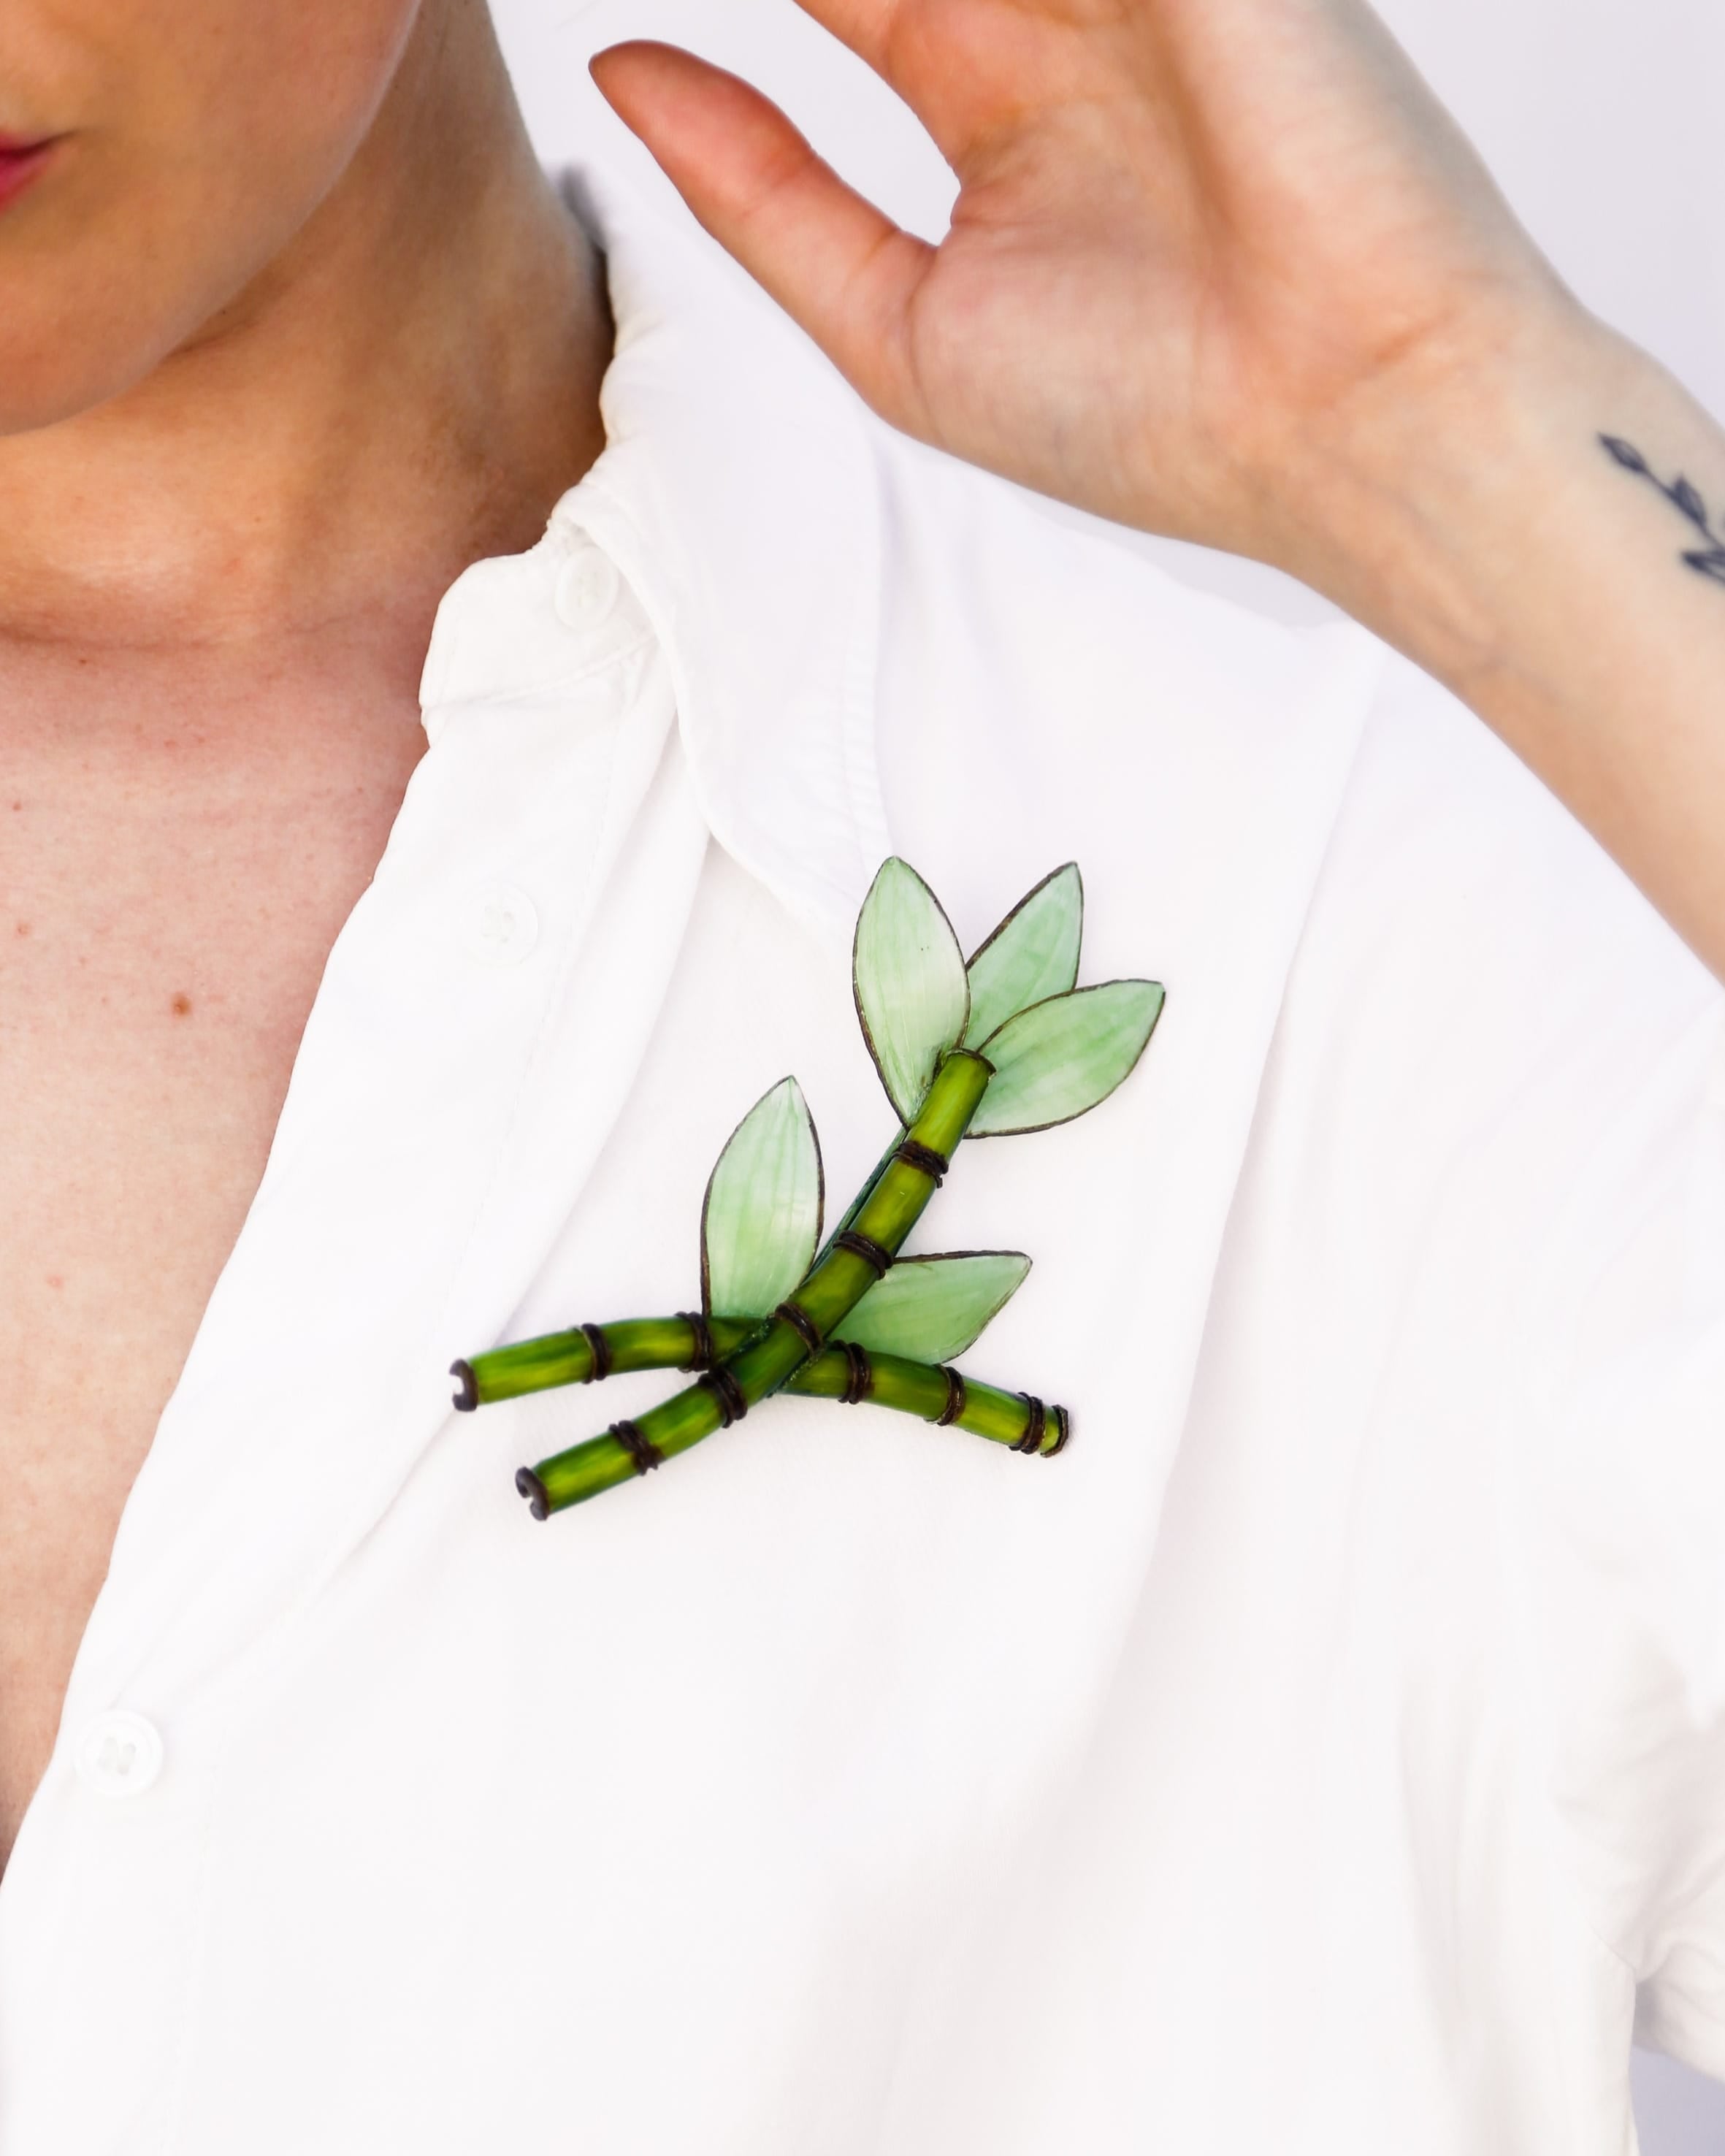
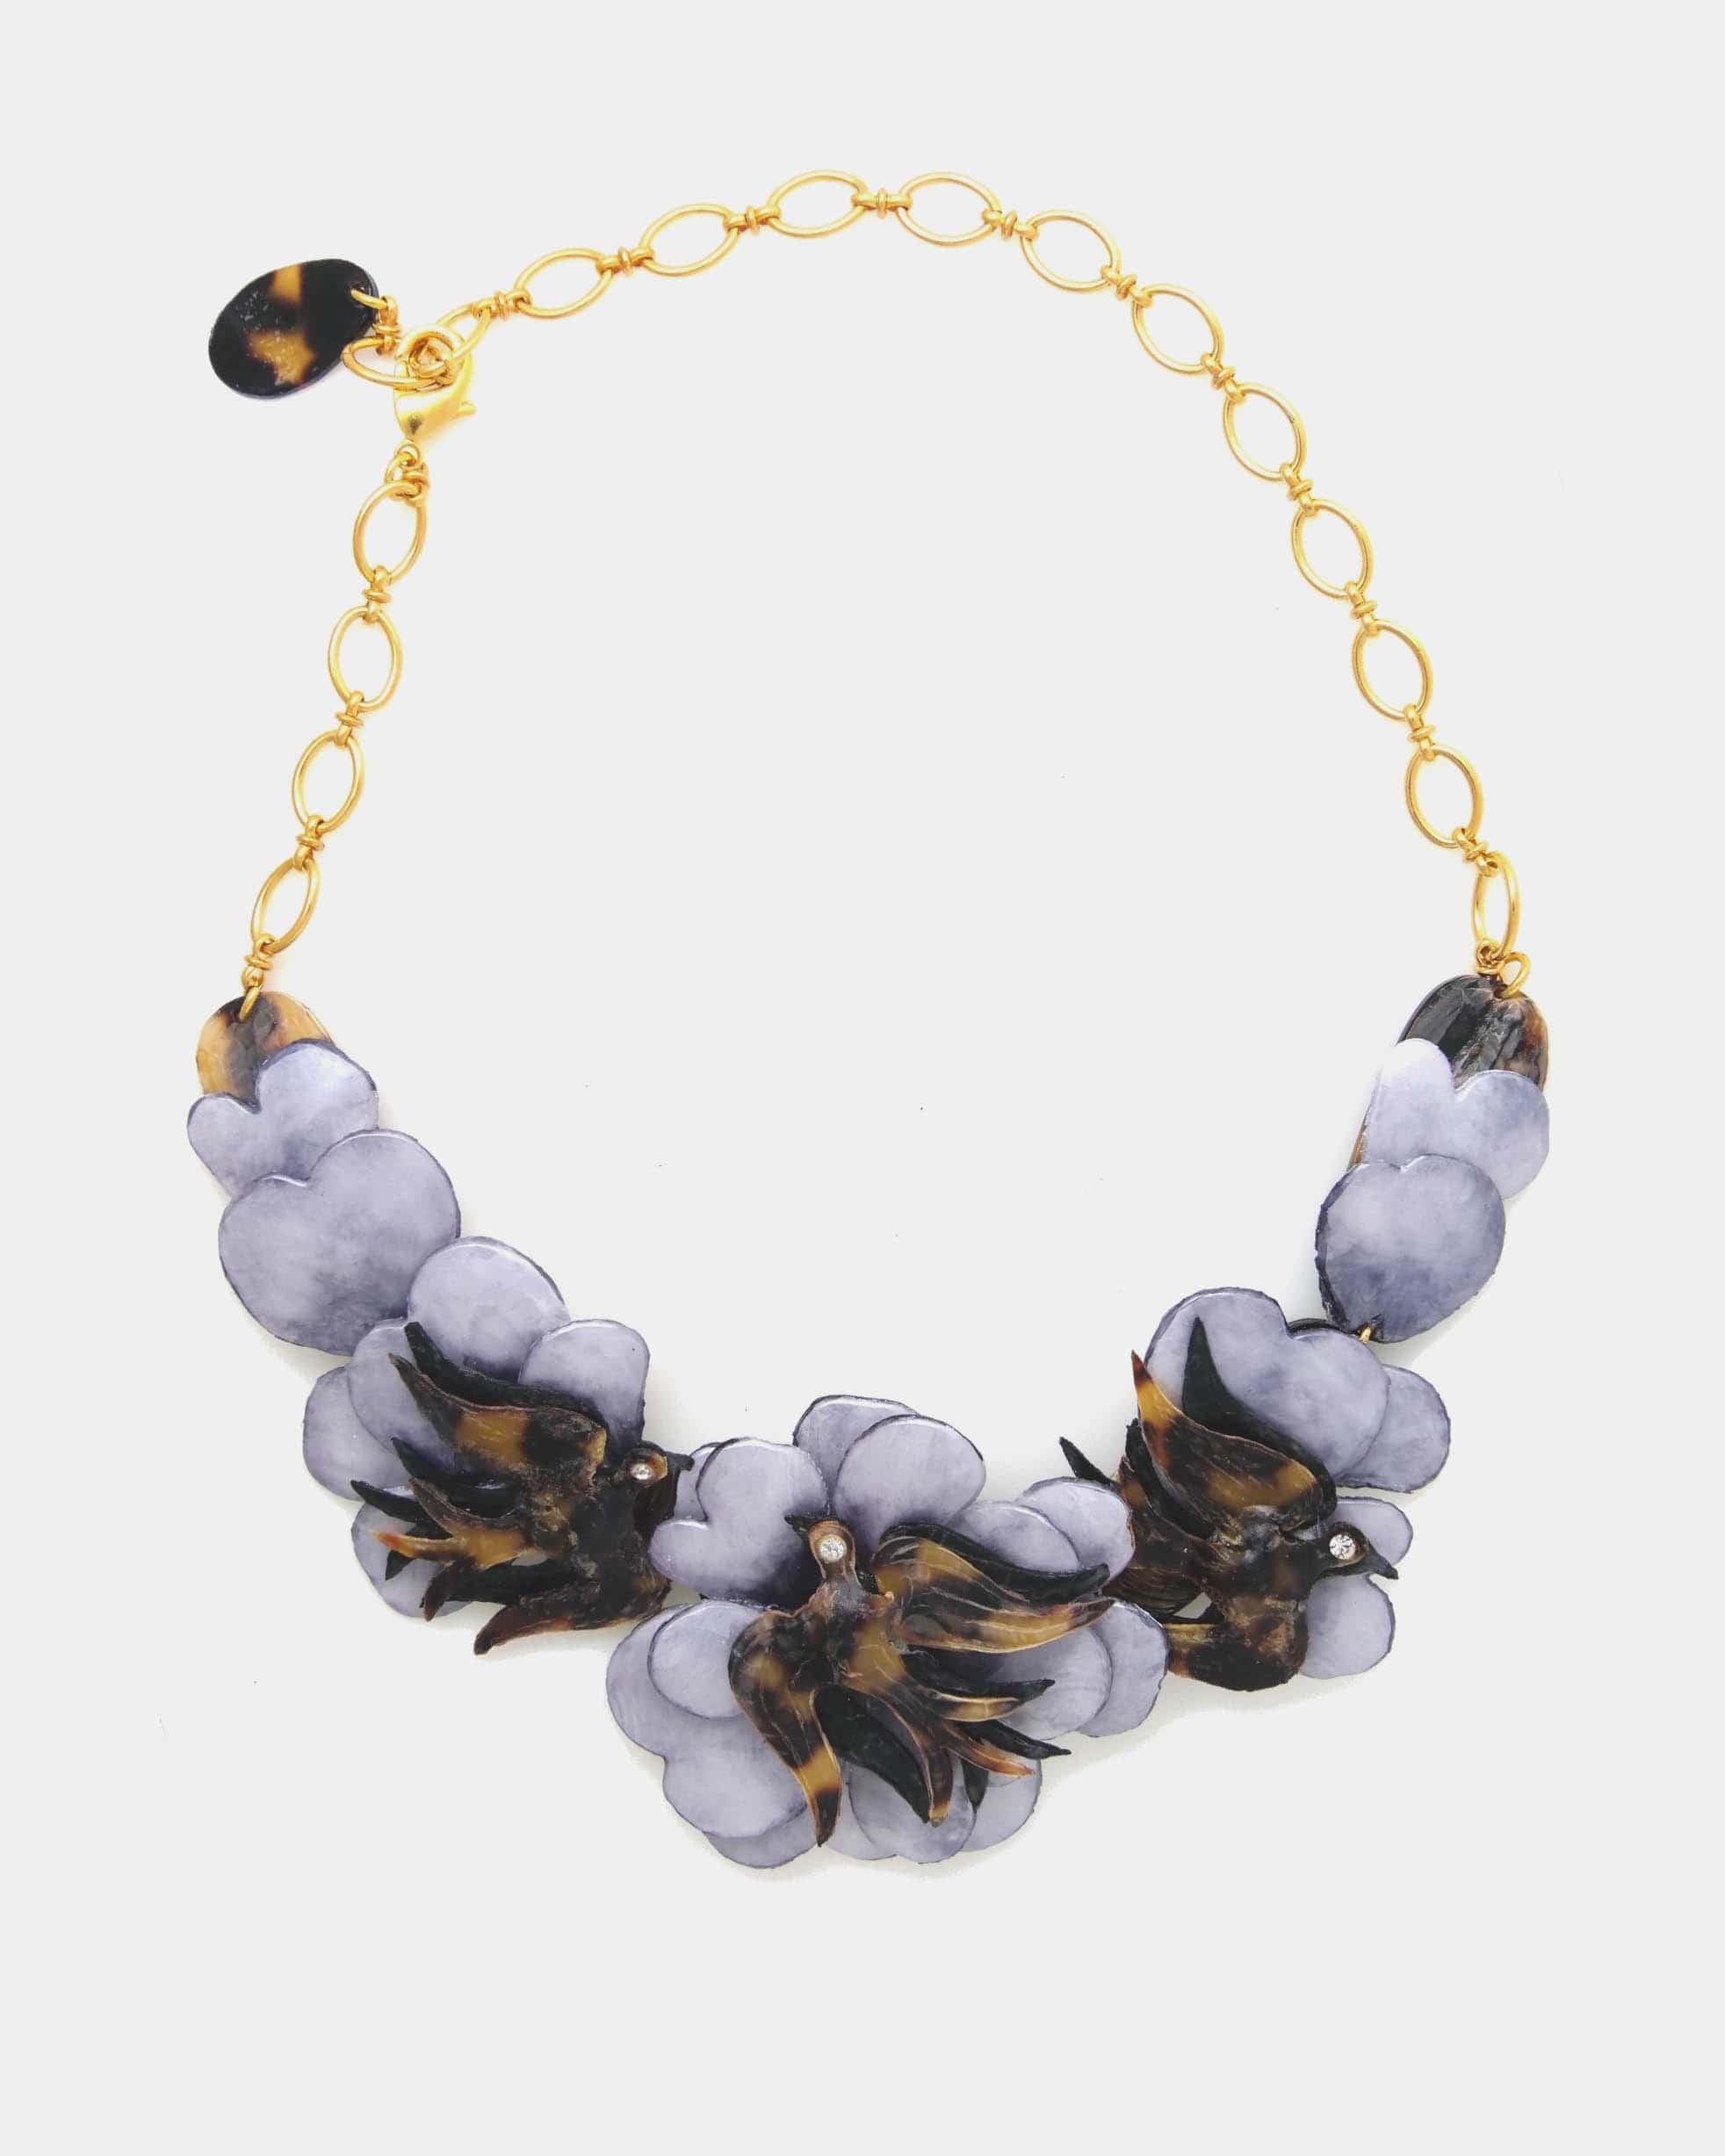
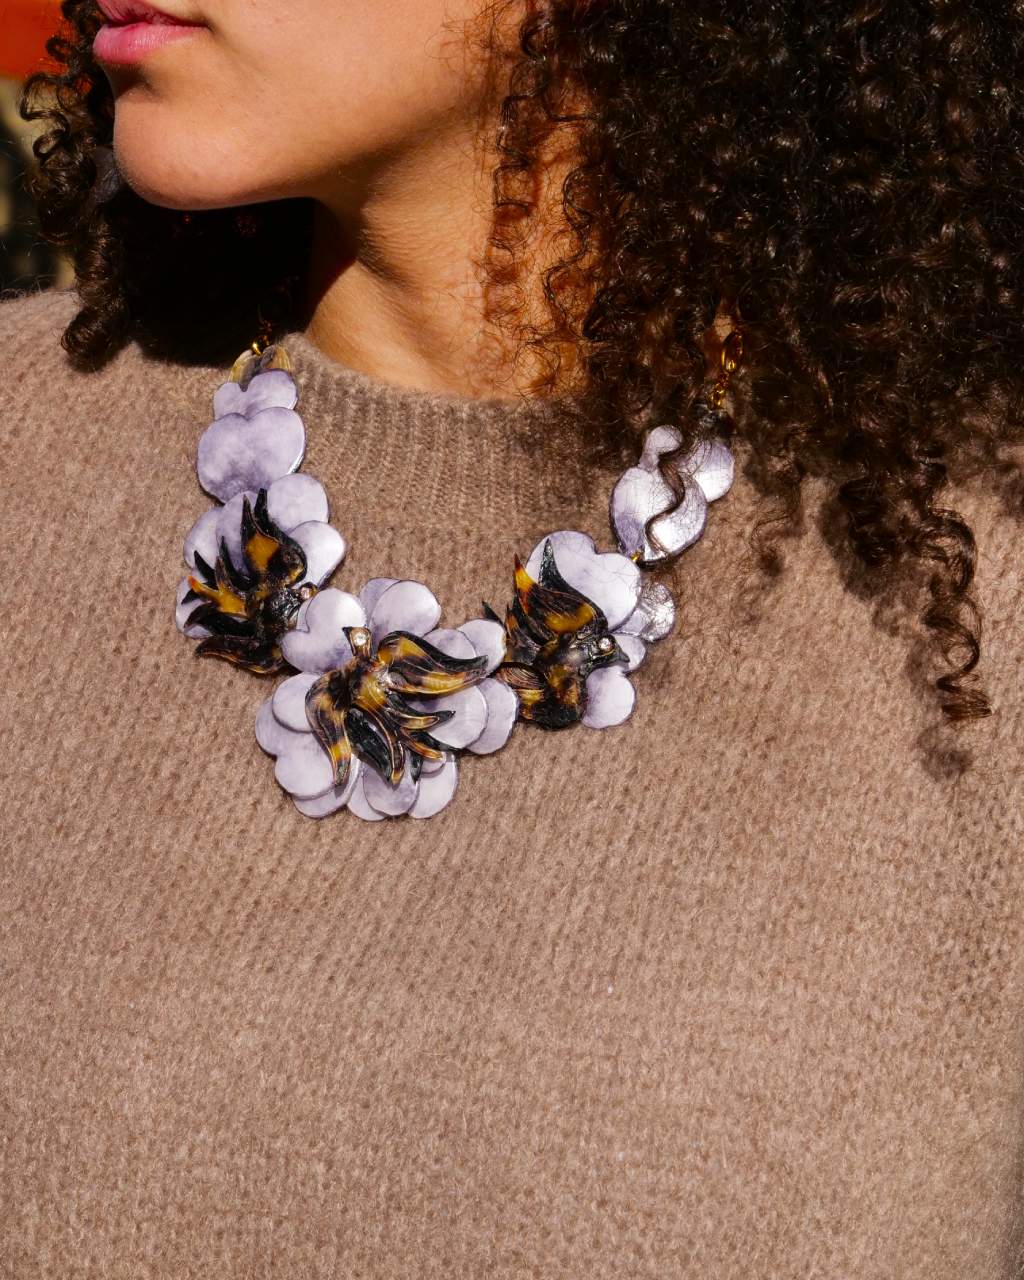
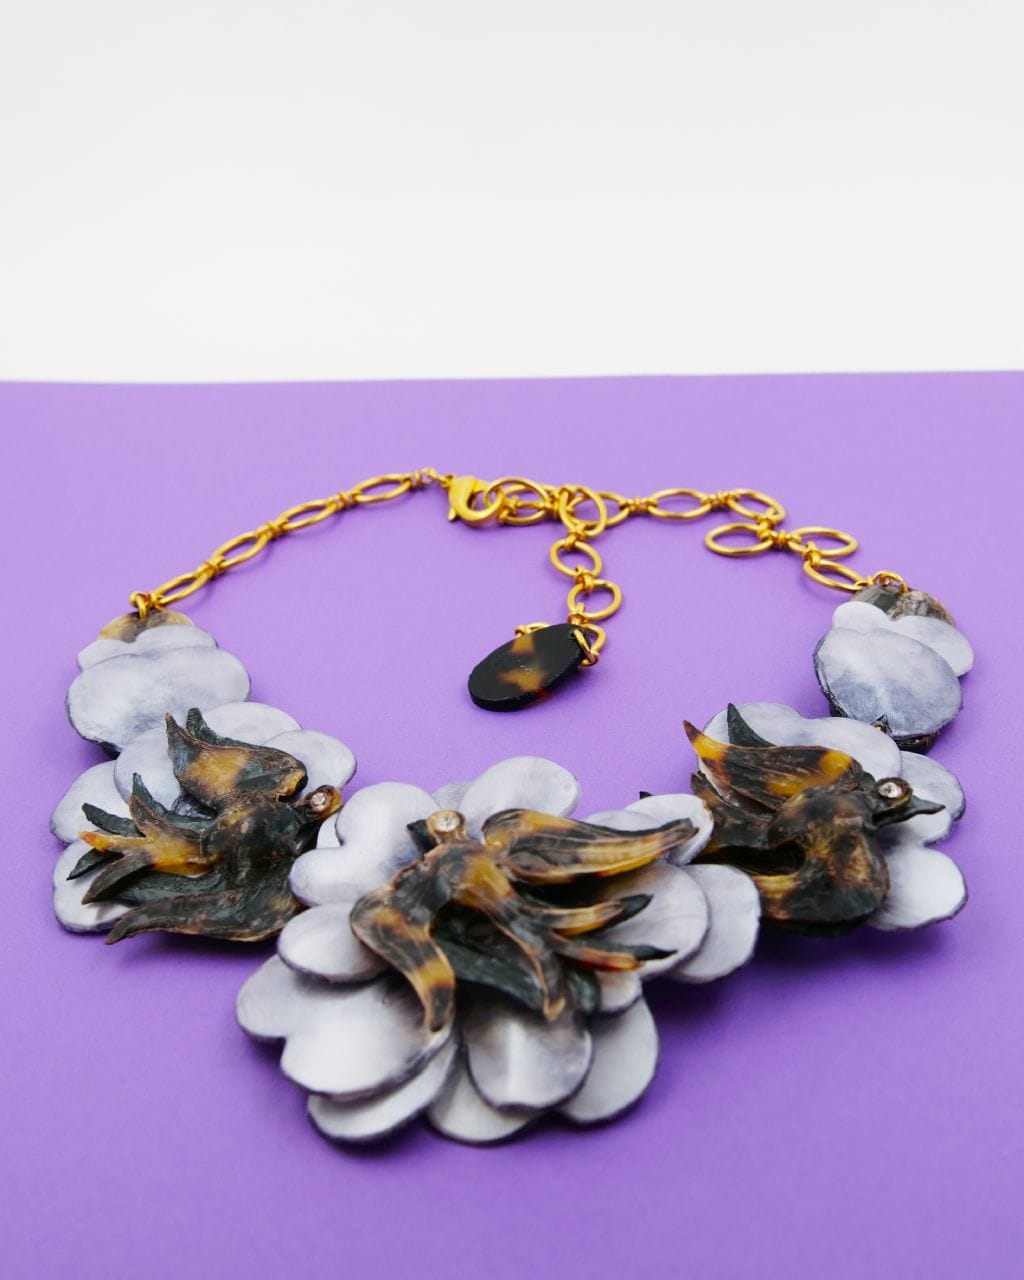
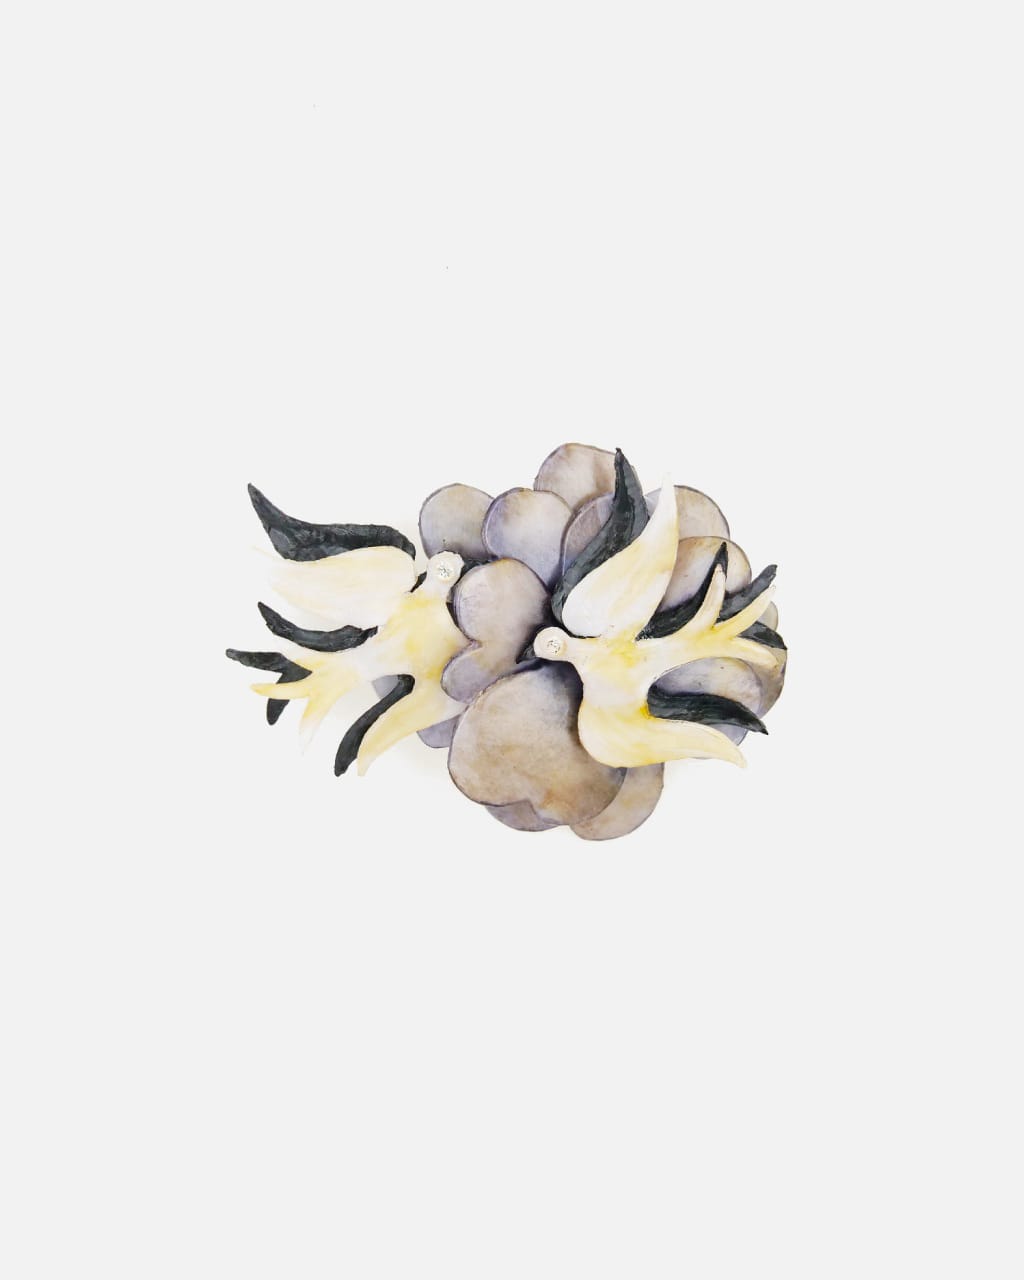
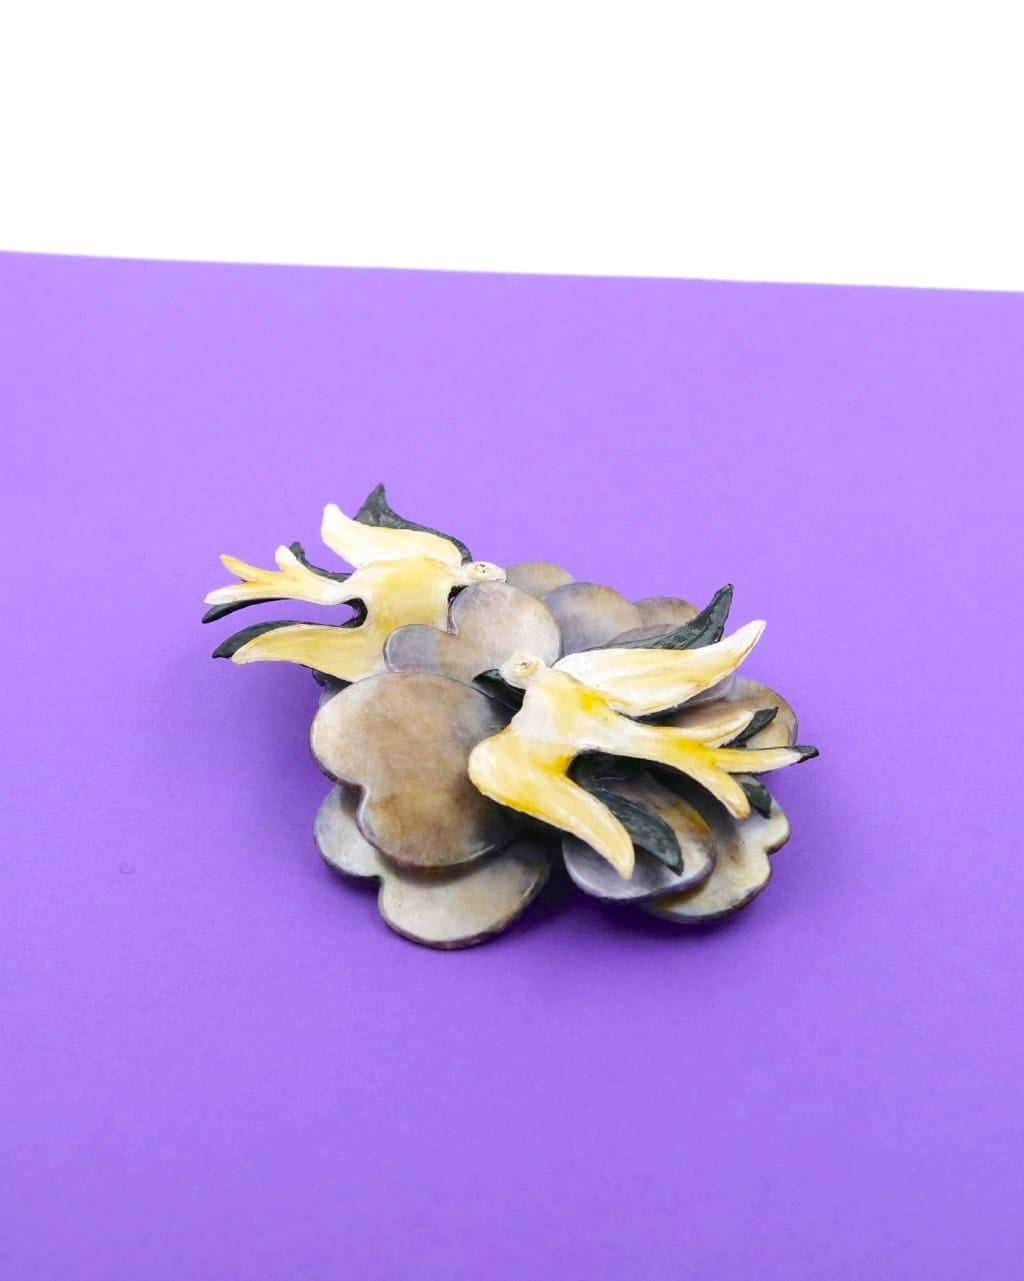
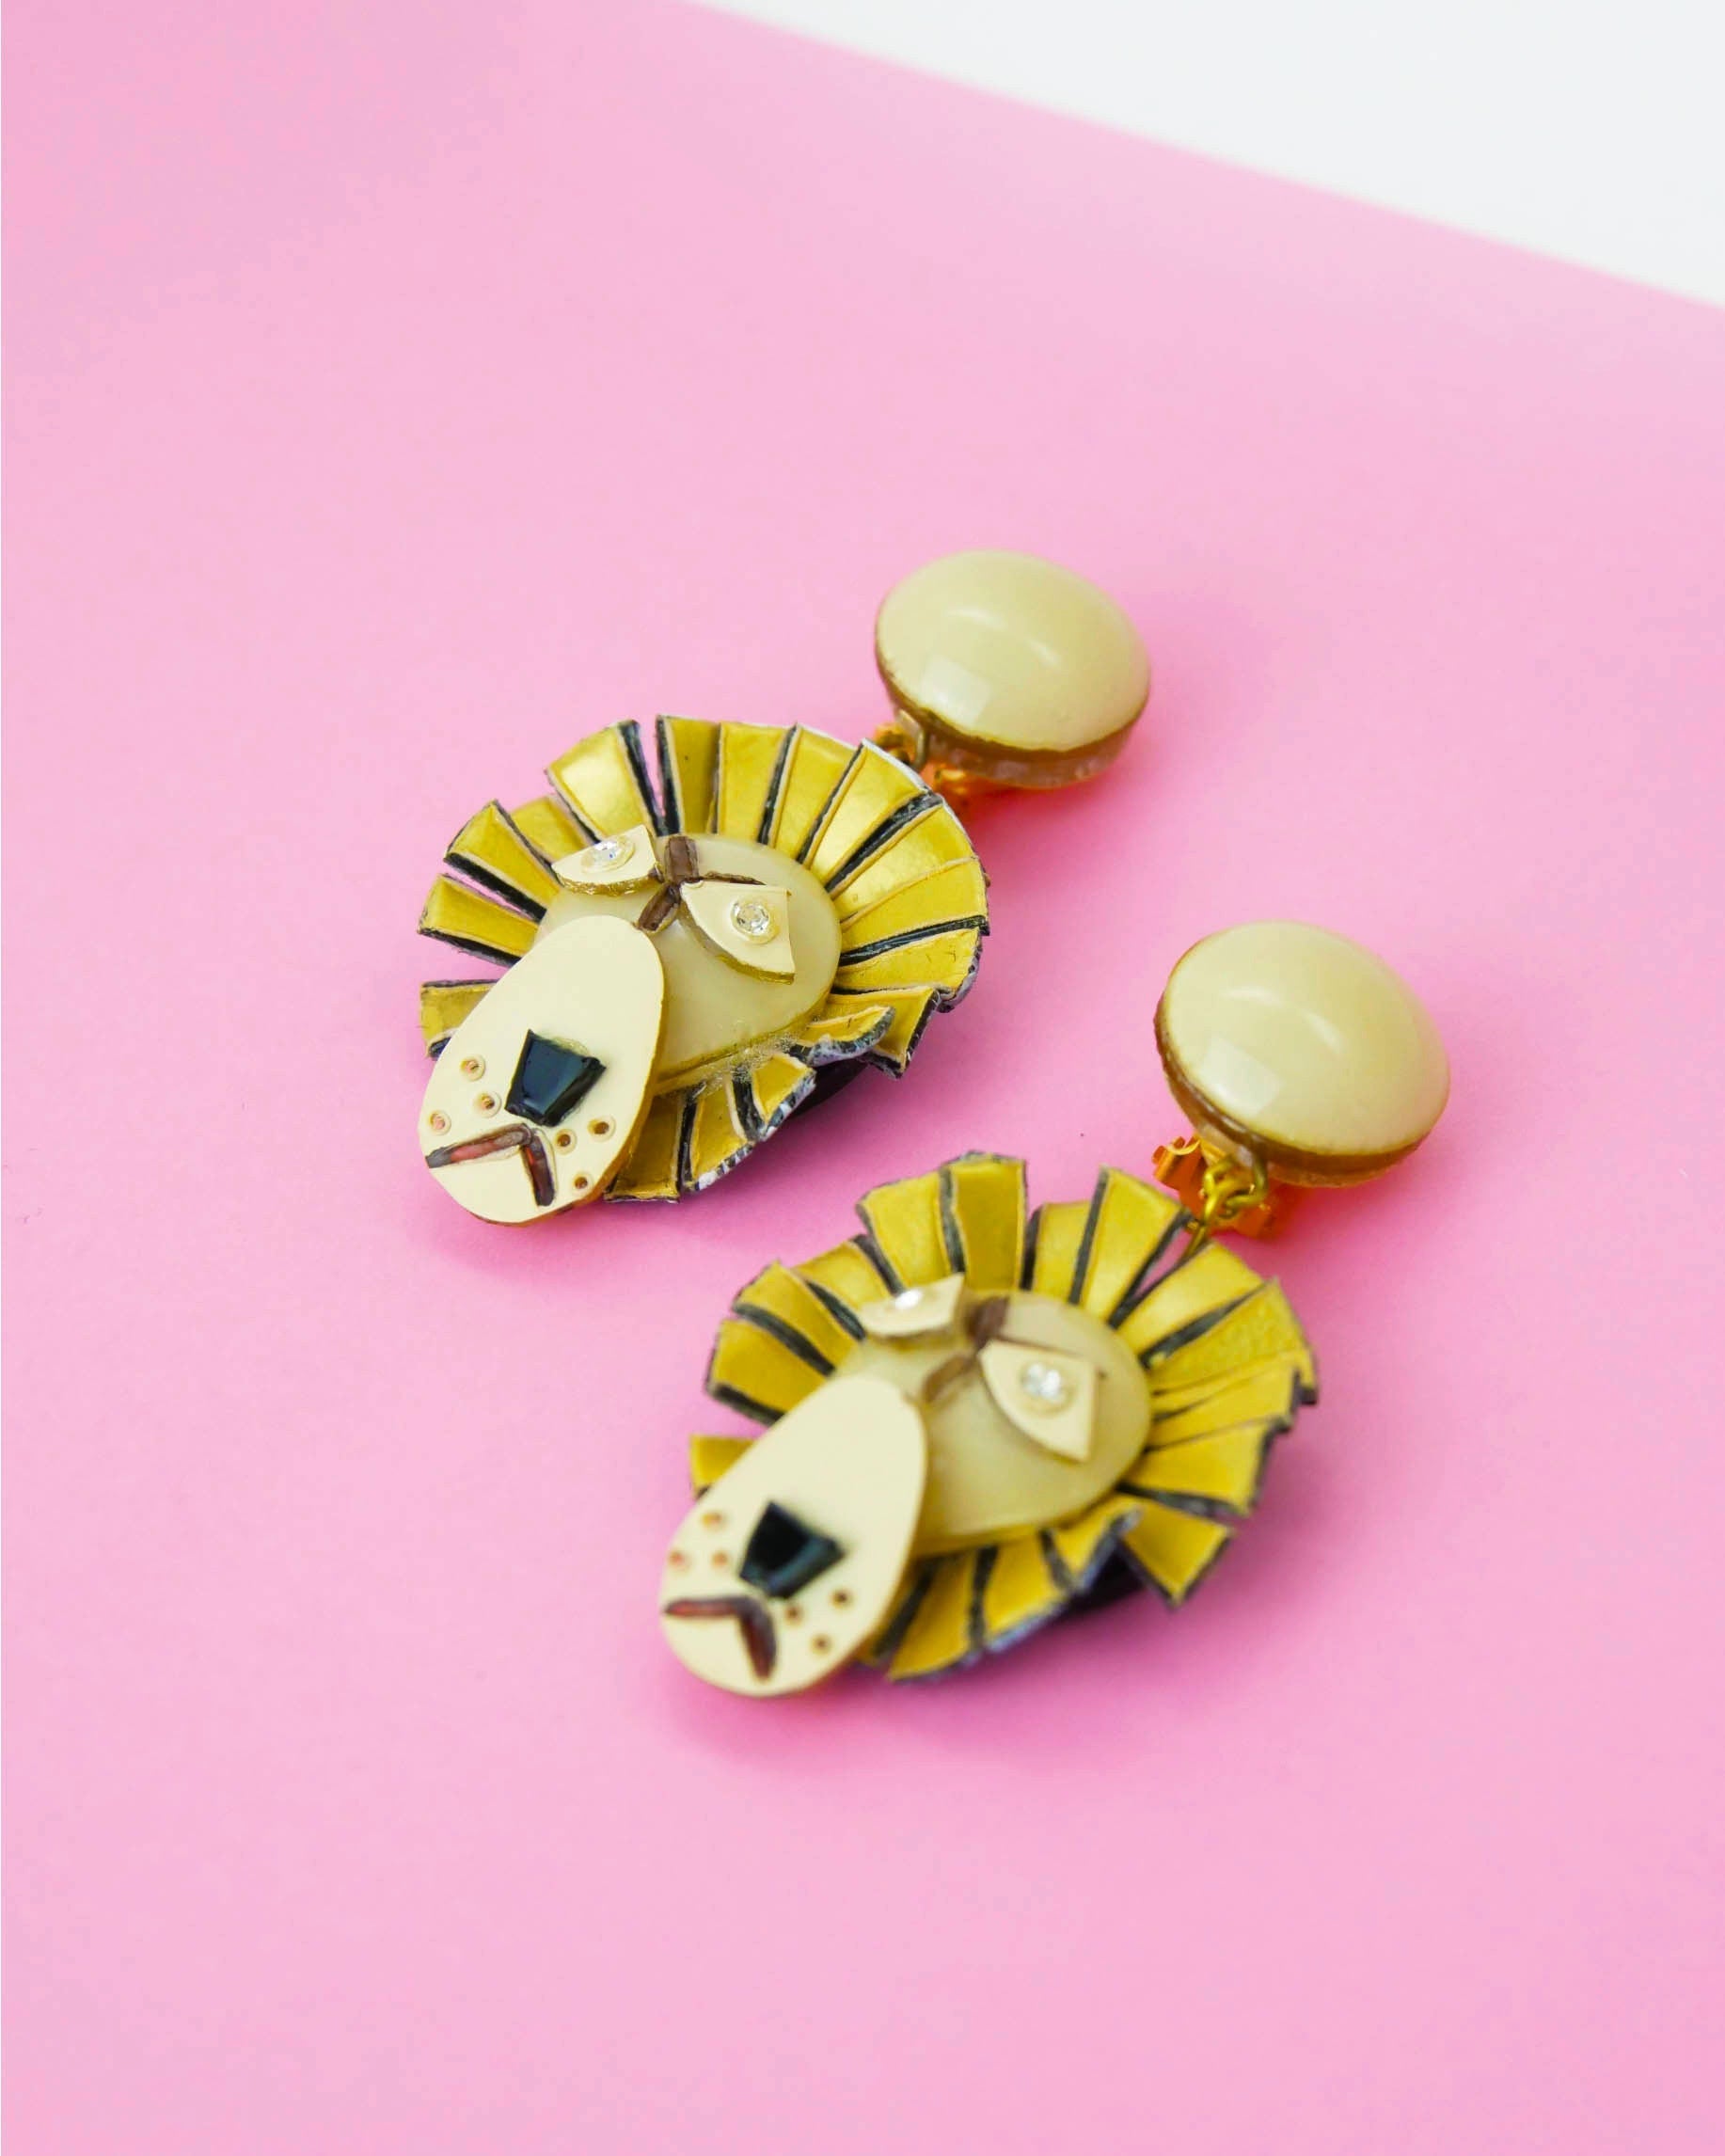
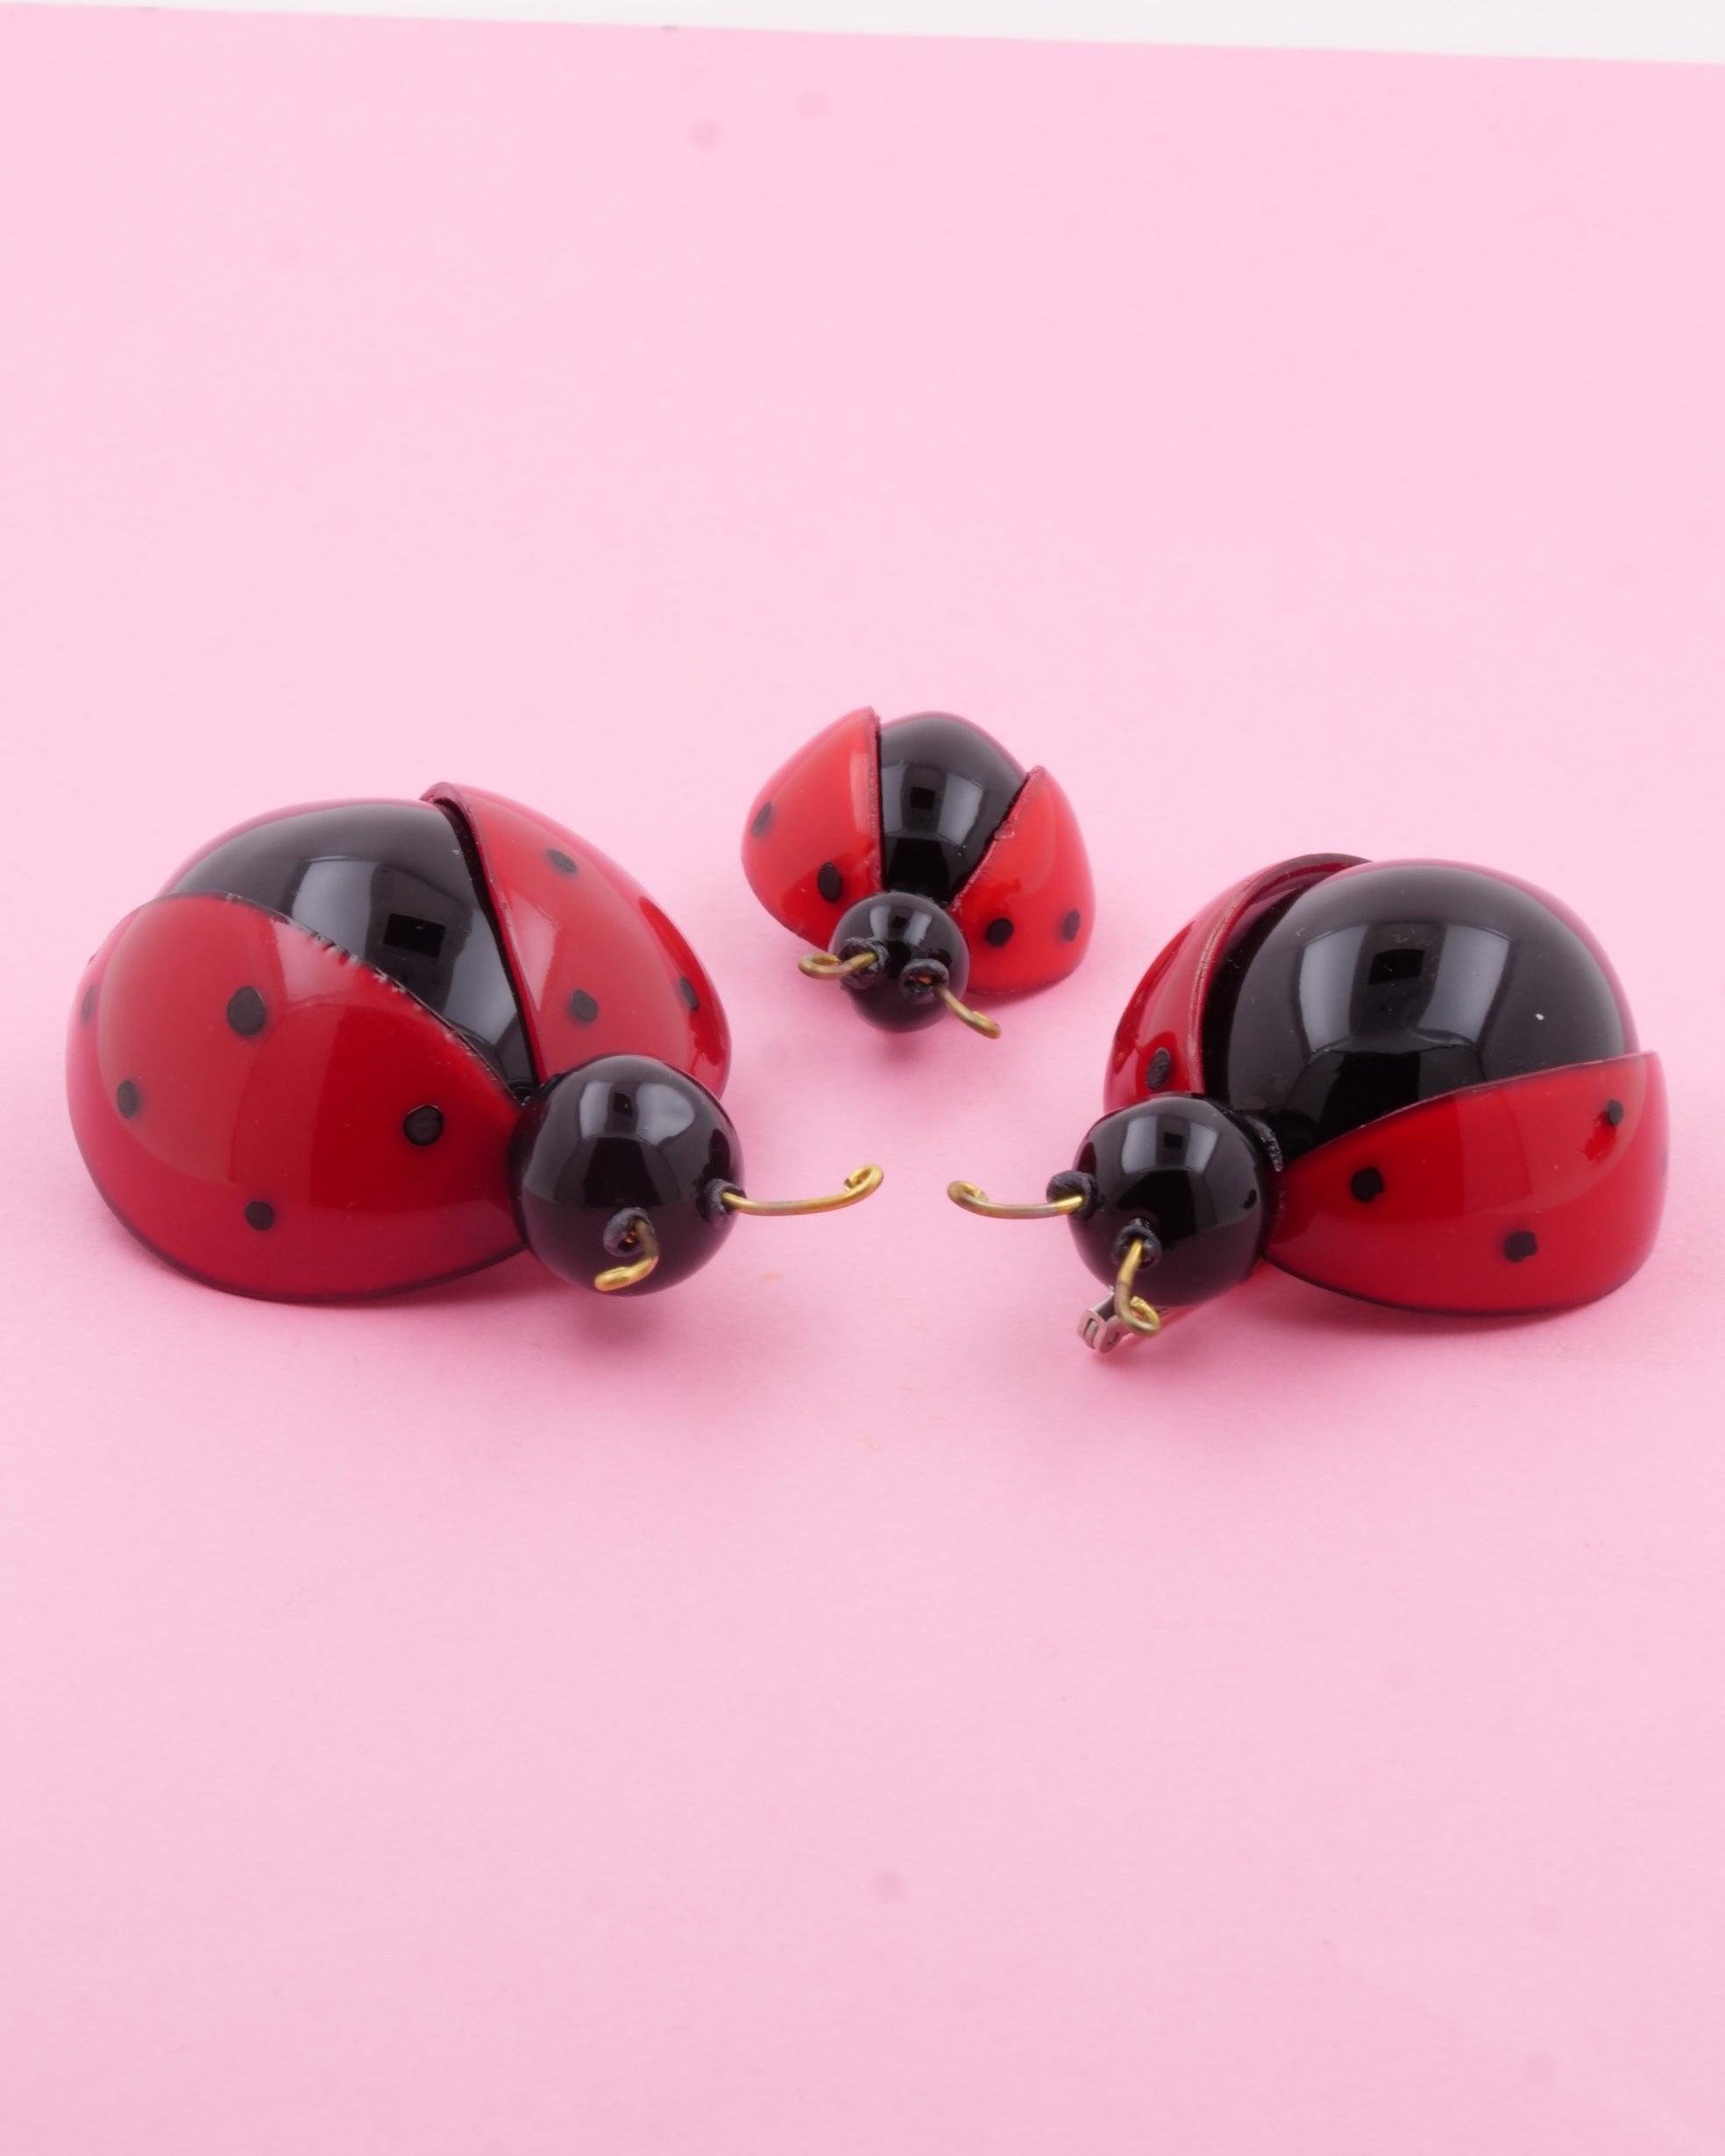
7. ASSEMBLY
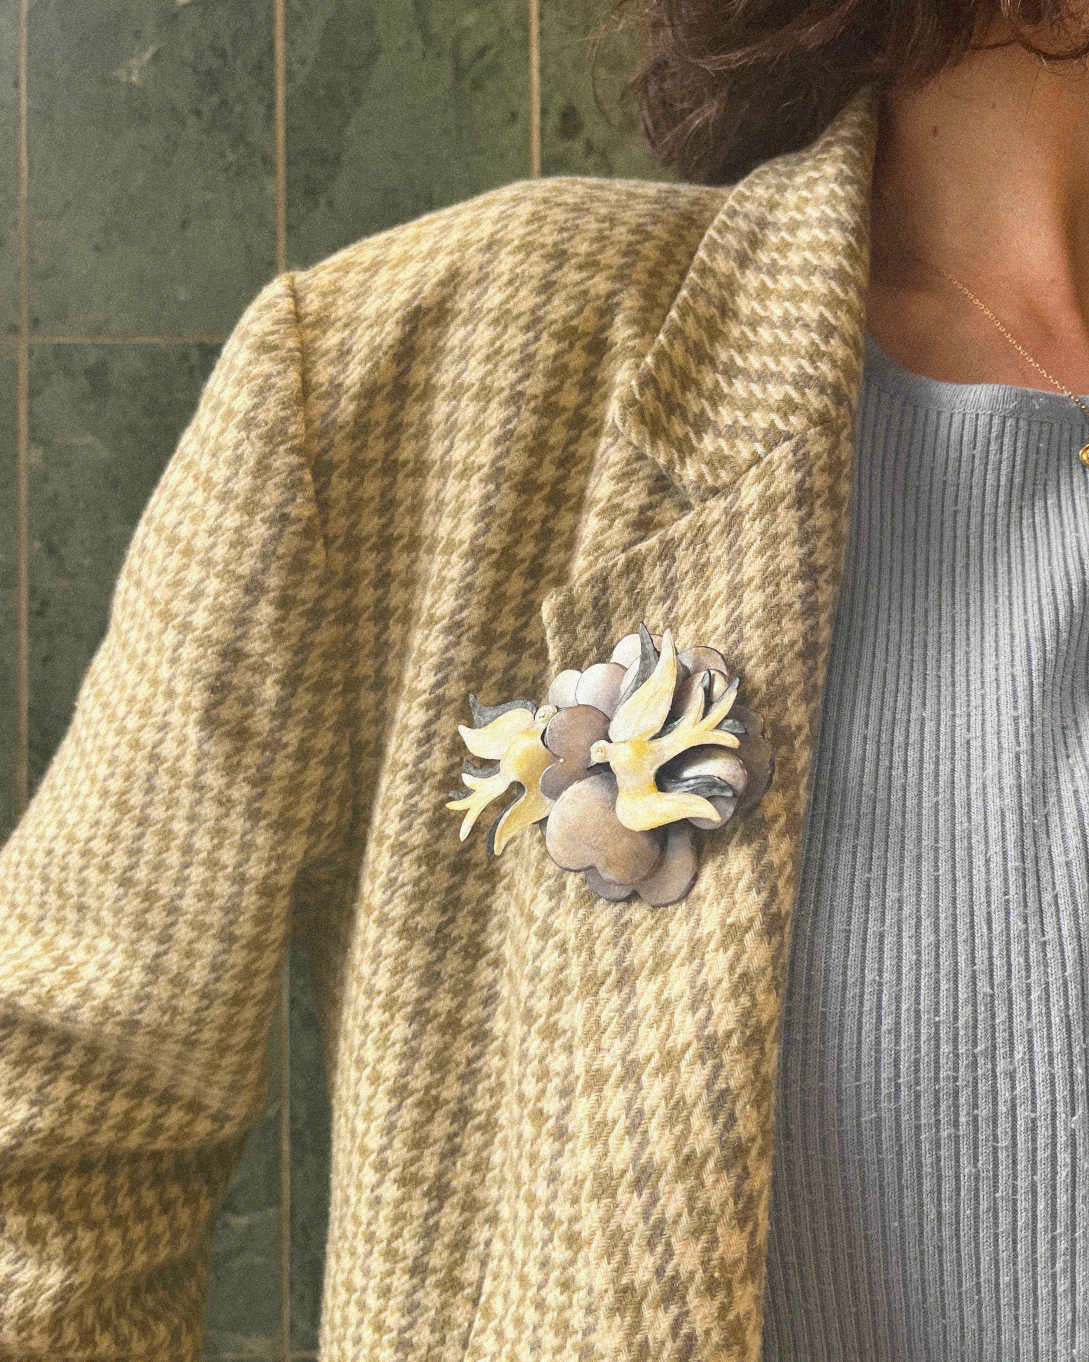
Finally, once all the elements have been worked on, they are assembled. Depending on the size and complexity of the piece, this step can take more or less time. The final finishing touches and alterations are made to adjust everything. The piece is then inspected to see if it meets our quality requirements. And voilà! The work is finally done.